Kling AI Ecommerce Product Videos from Photos
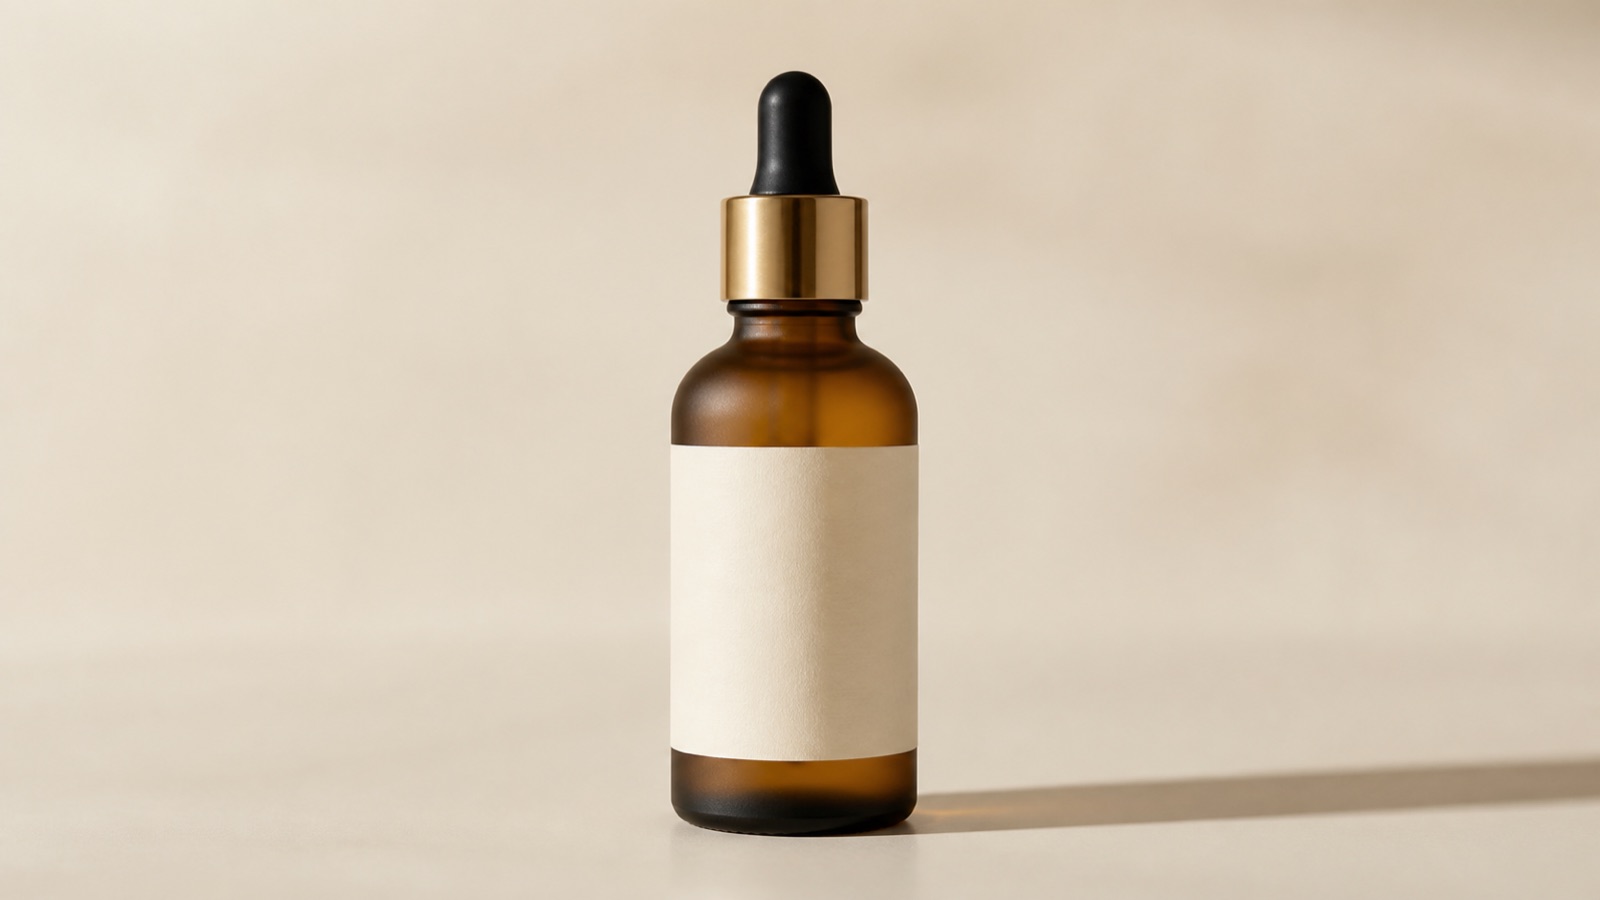
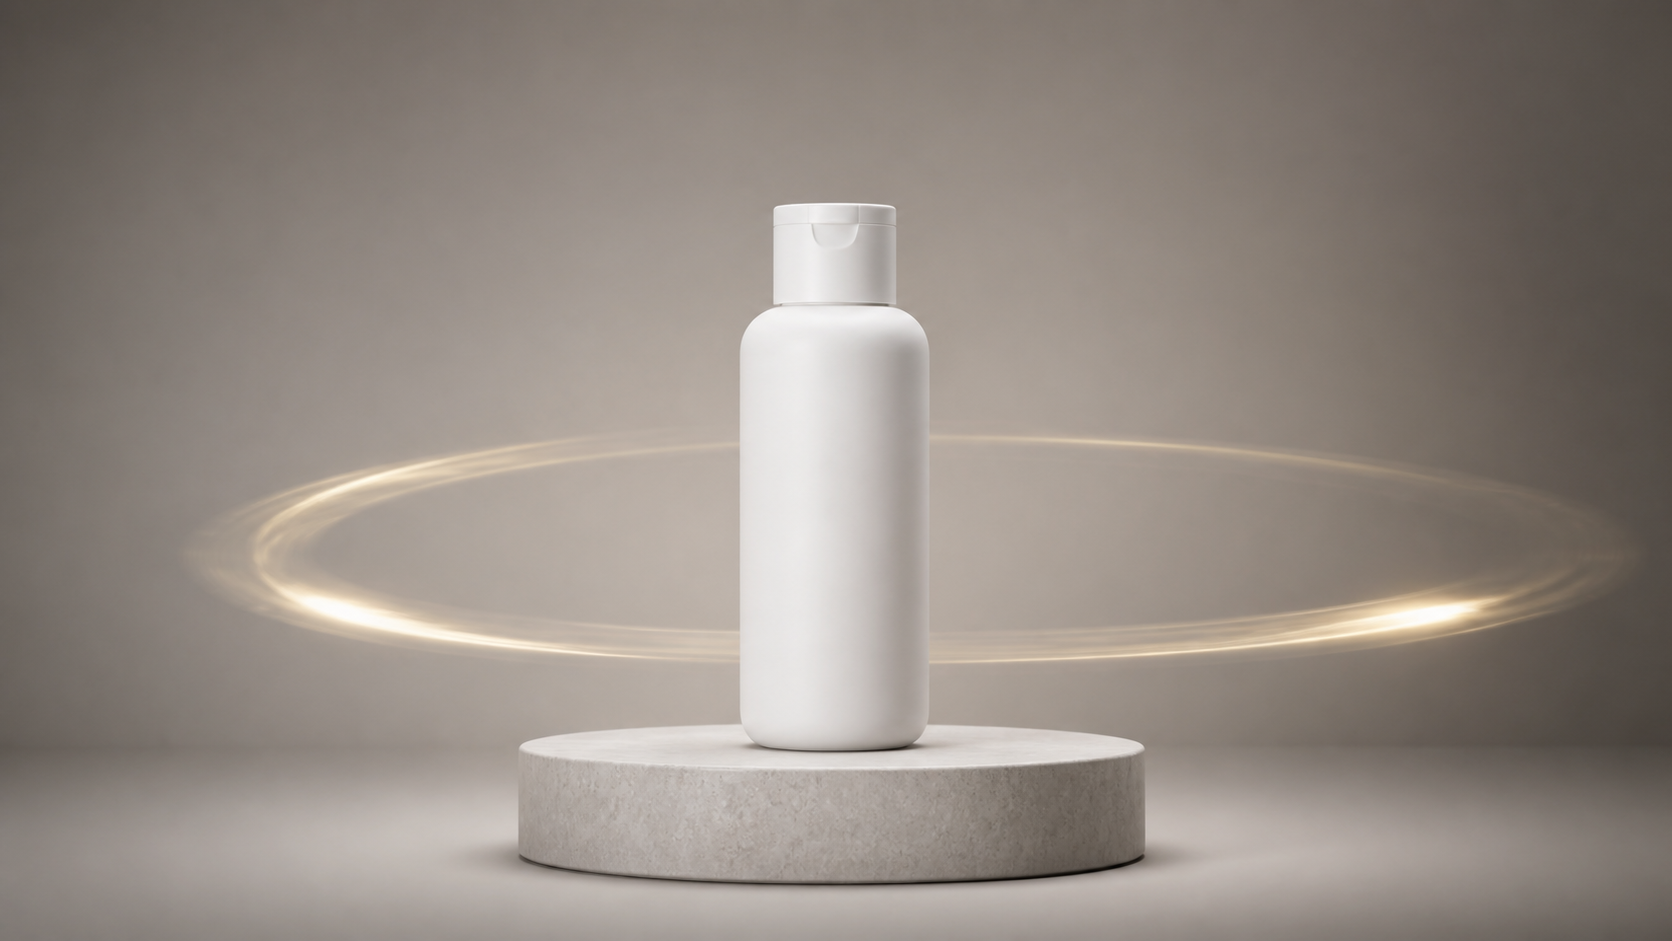
A simple source photo gives the model fewer details to reinterpret.
Quick answer
To turn a product photo into a useful ecommerce clip, start with one clean image, write a prompt for one camera move, and generate a short draft before asking for a complex sequence. In the KlingVideo image-to-video generator, Kling 3.0 currently accepts a required start image, an optional prompt, 4 to 15 second duration, 720p or 1080p output, and sound on or off. For a first test, use 4 or 5 seconds, keep the product centered, and request a slow push-in or a restrained turntable move.
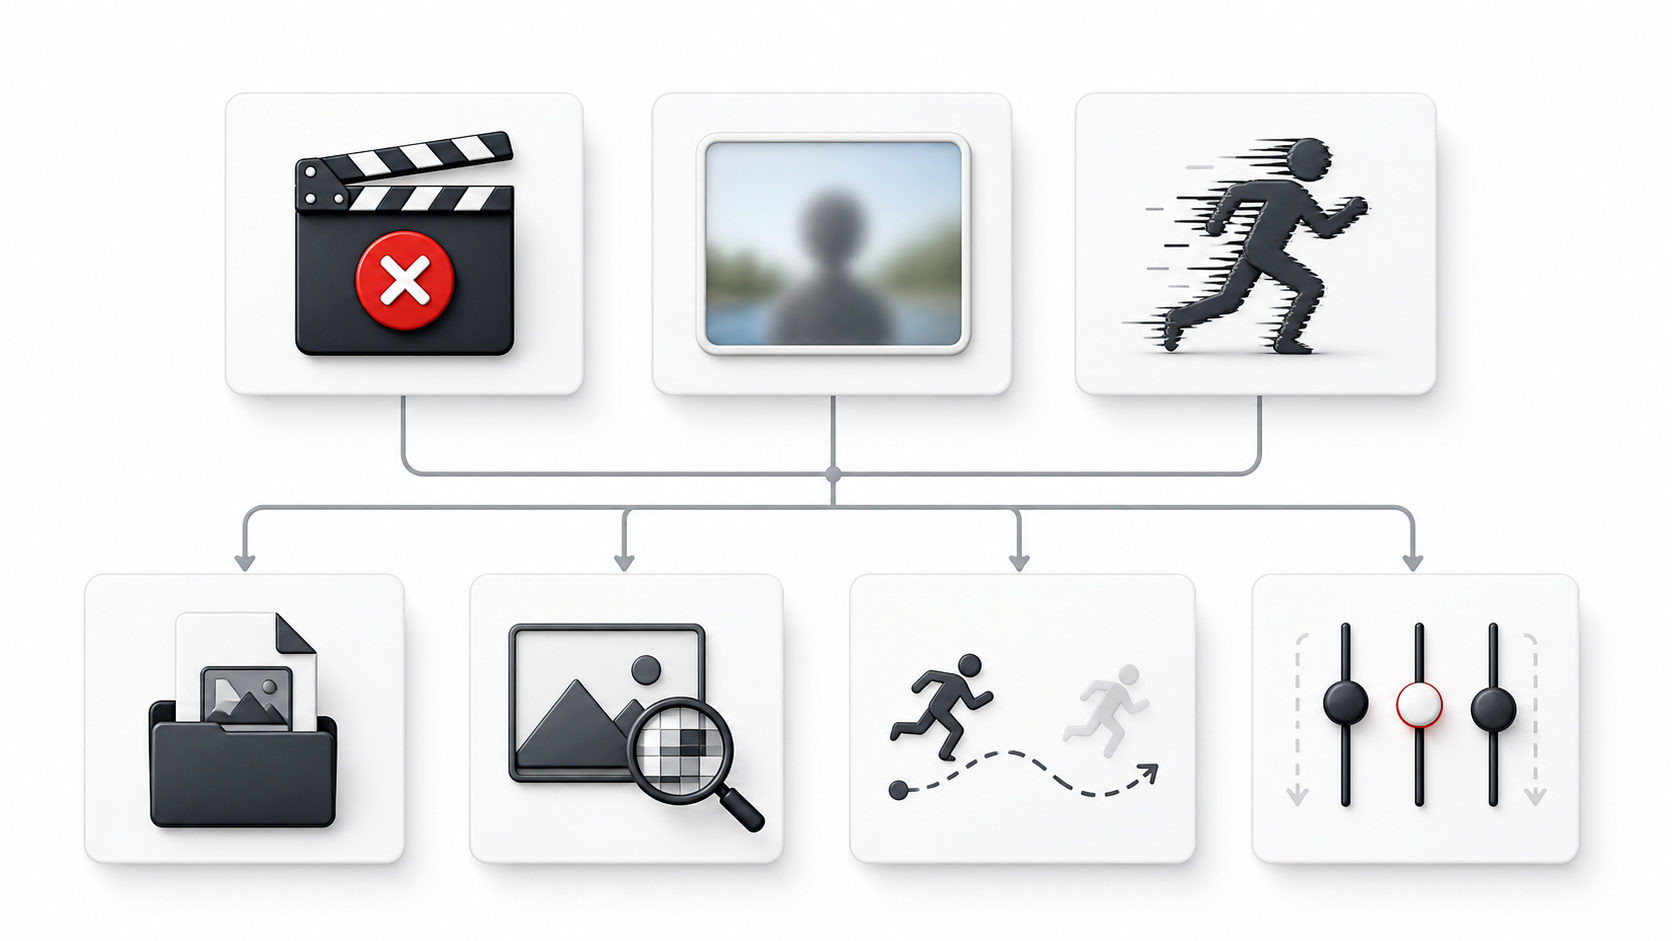
The hard part is not making the bottle move. It is keeping the bottle shape, cap, label position, material, and color believable from frame to frame. Treat the first result as a shot draft. Check it against the source photo, revise one variable at a time, and only then build the rest of the ad.
What an AI product video generator from an image is good for
Image-to-video is practical when you already have approved product photography but need more motion assets for a product page, marketplace listing, paid social test, or launch post. One still can become a gentle hero shot, a detail reveal, or a simple lifestyle beat without organizing another full shoot.
It is less suitable when every small printed character must remain legally exact, when the packaging has complicated reflective geometry, or when a single generation must deliver a finished multi-shot commercial. Those jobs still need review, editing, and often a clean packshot added in post.
Kuaishou's February 2026 Kling 3.0 announcement says the model family supports image-to-video and highlights stronger consistency, longer duration, shot control, and better preservation of text in imagery. The same announcement specifically connects text preservation with ecommerce advertising. That describes intended capability, not a guarantee that every label will survive every camera move.
Prepare the product photo before you animate it
A good source image removes ambiguity. You want the model to understand the product before it tries to invent motion around it.
| Check | Better source photo | Avoid |
|---|---|---|
| Product visibility | Entire silhouette visible with breathing room | Cropped cap, base, handle, or edge |
| Label | Front-facing, sharp, evenly lit | Tiny text at an angle or hidden by glare |
| Background | Simple surface with clear separation | Busy props touching the product outline |
| Lighting | One readable key-light direction | Mixed color temperatures and crushed shadows |
| Resolution | Clean original with real texture | Screenshot, heavy compression, aggressive sharpening |
| Rights | Photo you created or are licensed to use | Marketplace image copied from another seller |
Use one product, one dominant angle
Do not begin with a grid of six packshots. A single front or three-quarter image is easier to control. Leave space around the object so a push-in does not immediately crop the cap or base. If the item is transparent, reflective, or metallic, keep the light pattern simple enough that a changing reflection will not look like a changing shape.
Make the label readable, but do not rely on it blindly
Large, high-contrast label elements tend to be easier to preserve than small ingredients, legal copy, or fine serif lettering. Keep a clean still of the real package ready for the final edit. If precise text is mandatory, use the generated motion as a background plate and restore the approved label in post rather than accepting a near miss.
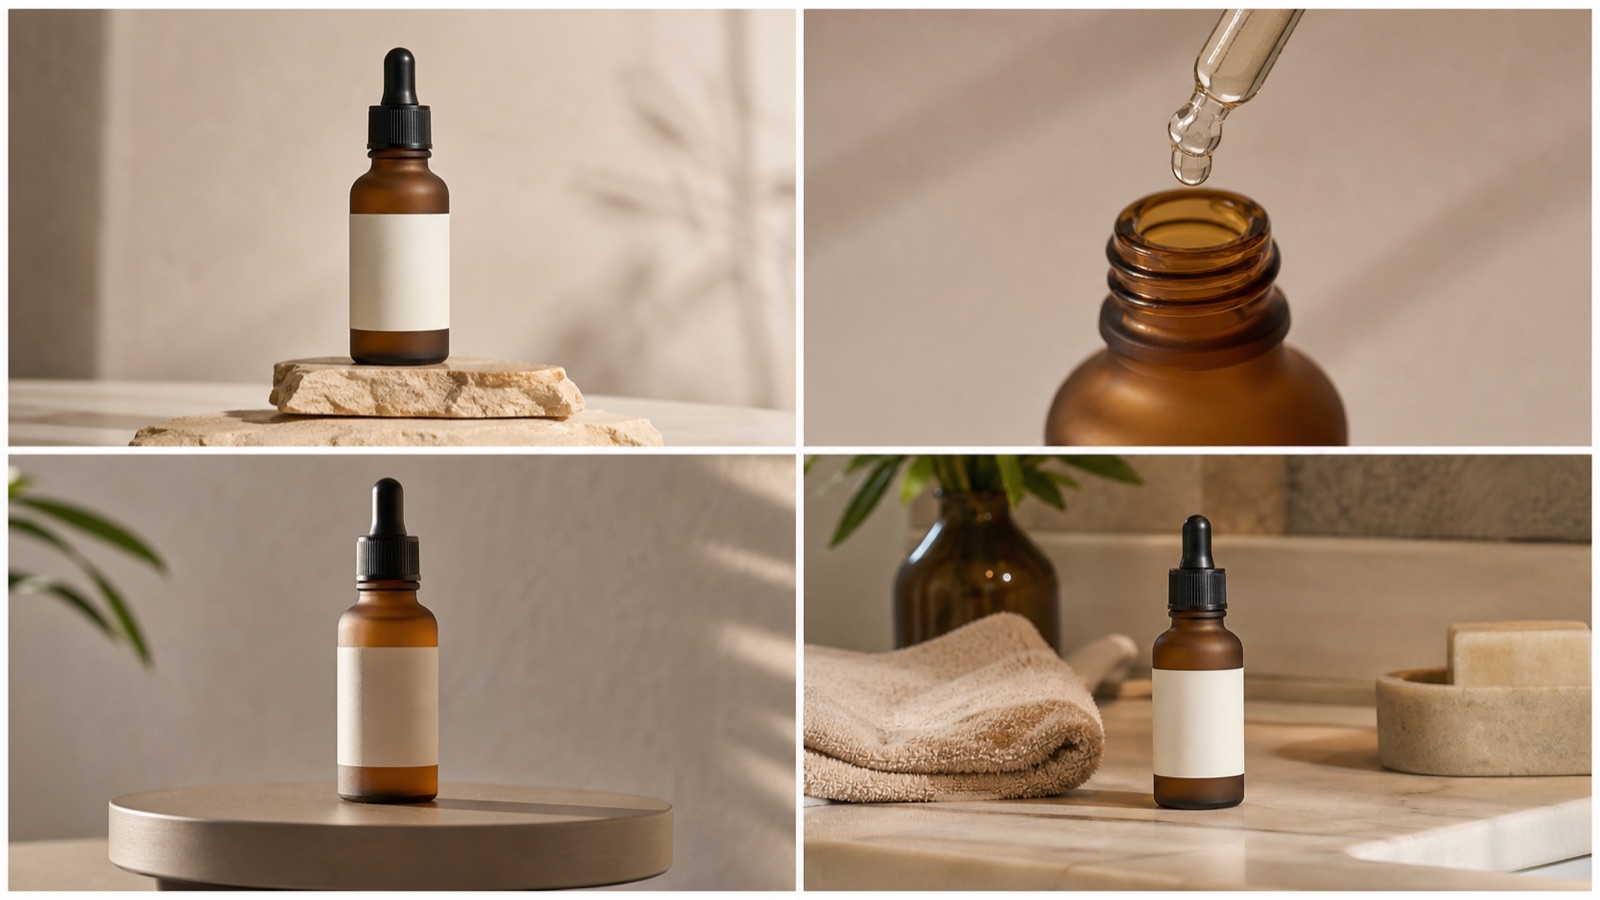
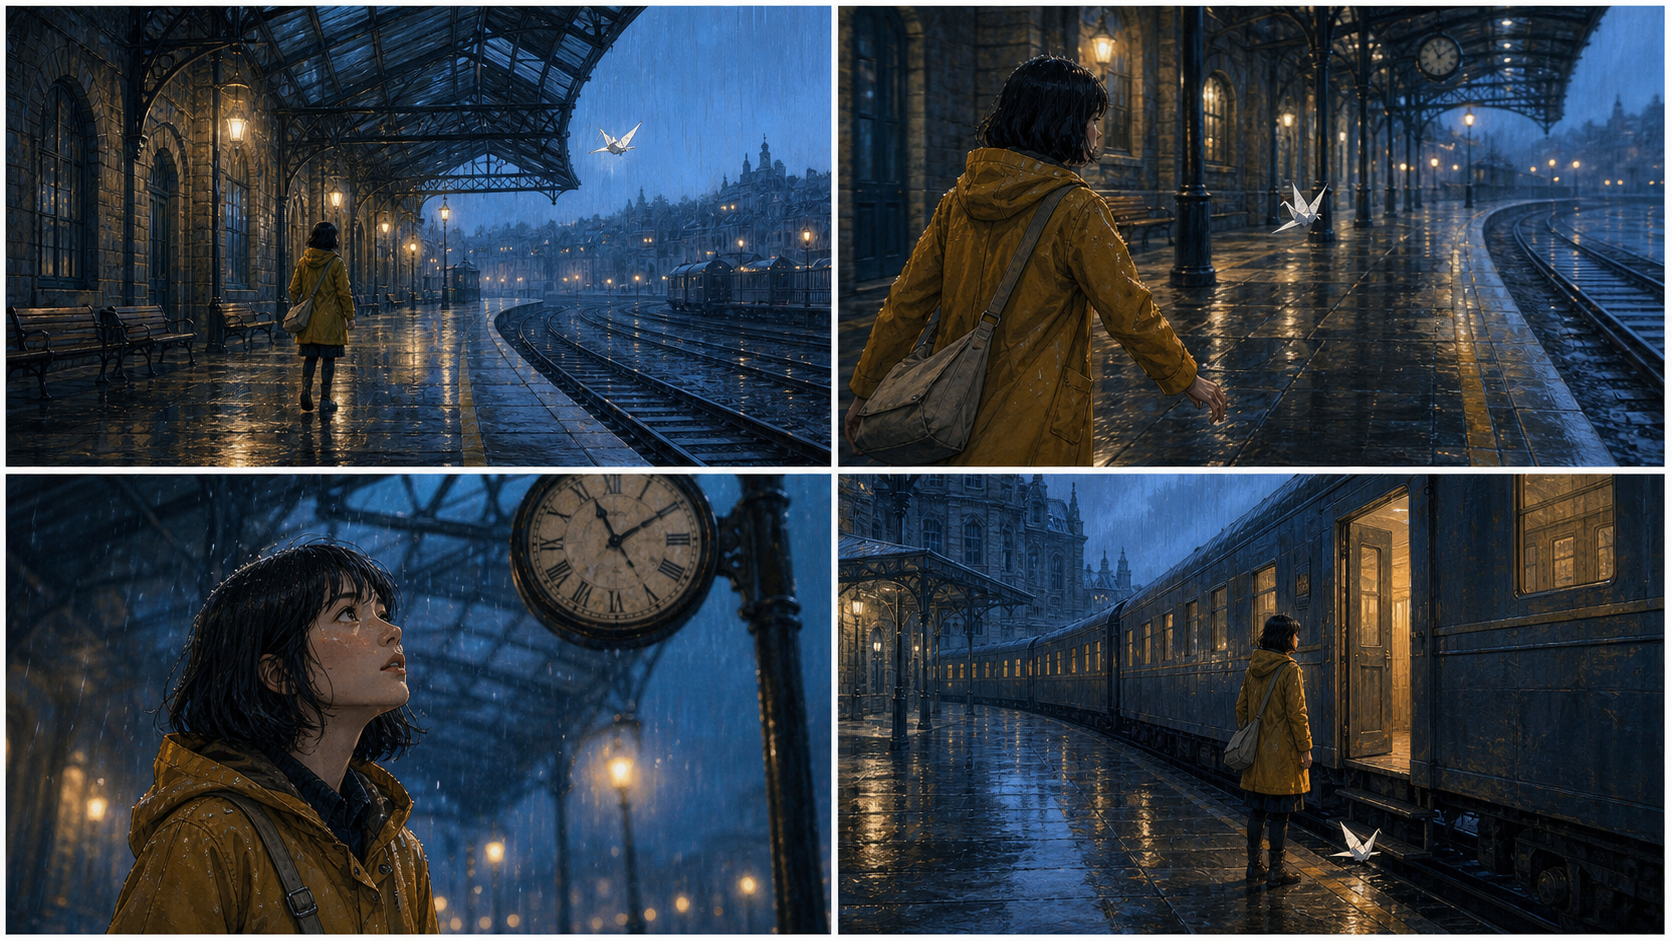
Plan a small shot set before generating. One clear purpose per clip is easier to review.
Build a four-shot ecommerce storyboard
Four short clips are usually more useful than one long prompt trying to do everything. Generate each shot separately so you can reject a bad angle without losing the rest of the sequence.
| Shot | Job | Suggested motion | Safe starting length |
|---|---|---|---|
| Hero | Establish the product | Slow push-in, locked horizon | 4 to 5 seconds |
| Detail | Show material or mechanism | Controlled macro move | 4 seconds |
| Lifestyle | Place it in context | Gentle lateral slide | 4 to 6 seconds |
| Reveal | End on a memorable frame | Small rotation into front view | 4 to 5 seconds |
Hero shot prompt
Premium ecommerce hero shot of the exact amber serum bottle from the source image. The bottle remains centered and upright. Slow, smooth camera push-in. Warm neutral studio light, subtle grounded shadow, clean off-white background. Preserve the bottle proportions, black dropper cap, amber glass color, cream label placement, and liquid level. No new objects. No label redesign.
Detail shot prompt
Macro product detail of the same serum bottle. The camera moves slowly toward the glass shoulder and dropper collar while the bottle stays still. Show realistic glass thickness and a soft highlight moving across the surface. Preserve cap geometry, neck width, label edge, and amber color. Shallow depth of field, restrained commercial lighting.
Lifestyle shot prompt
The same serum bottle on a warm stone bathroom shelf beside one folded neutral towel. Slow lateral camera slide from left to right. Morning window light, soft shadows, quiet premium skincare mood. Keep the bottle shape, label position, cap, color, and scale unchanged. The product remains the visual focus.
Reveal shot prompt
Start from a three-quarter view of the exact product and make a subtle controlled rotation toward the front. The camera remains stable. Finish with the bottle upright and centered, with the full label area visible. Preserve every major package feature. Clean studio background, no added text, no extra products.
These prompts are deliberately conservative. Once one motion works, add only one new instruction per version. Asking for a fast orbit, splashing liquid, flying ingredients, a background change, and a final logo lockup in the same clip makes it much harder to identify what caused a failure.
Choose duration, resolution, and sound deliberately
The current Kling 3.0 image-to-video controls on KlingVideo offer 4 to 15 seconds, 720p or 1080p, and a sound toggle. The best setting depends on the job, not on the largest available number.
Start short
A four or five second draft is long enough to judge whether the silhouette, label area, and camera path stay stable. Longer clips create more frames where the model can drift. Extend duration after the basic move is reliable, especially for a product with printed text or symmetrical packaging.
Use 720p for drafts and 1080p for selected shots
Use 720p while testing prompt wording, camera speed, and composition. Move to 1080p for the versions you expect to edit or publish. Higher resolution can make review easier, but it does not repair a distorted cap or a wandering label.
Leave sound off unless audio has a job
For a product-page loop, silence is often useful. Paid social may need music, a voice-over, or tactile sound design, but those elements should support the edit. Do not let an automatic audio choice distract from the first visual review.
For a broader explanation of these controls, see the Kling AI video settings guide. If your source frame itself is causing drift, use the image-to-video checklist before rewriting the prompt.
Pick the aspect ratio from the placement
Do not crop the same master blindly for every channel. The product needs different breathing room in a product gallery, a feed ad, and a full-screen vertical placement.
| Placement | Practical composition | Product-safe note |
|---|---|---|
| Product page gallery | Landscape or square master | Keep the full silhouette and room for controls |
| Instagram or Facebook feed | Square or vertical crop | Keep label and cap inside the center safe area |
| Reels, TikTok, Shorts | 9:16 composition | Leave top and bottom space for interface overlays |
| Marketplace listing | Follow the marketplace spec | Prefer clear product scale over cinematic framing |
If your generation route exposes a fixed frame shape, prepare the source image for that shape before upload. Rebuilding missing background is safer than cropping through the product after generation. Keep the object close to the center unless the final layout has a known text area.
Review product fidelity frame by frame
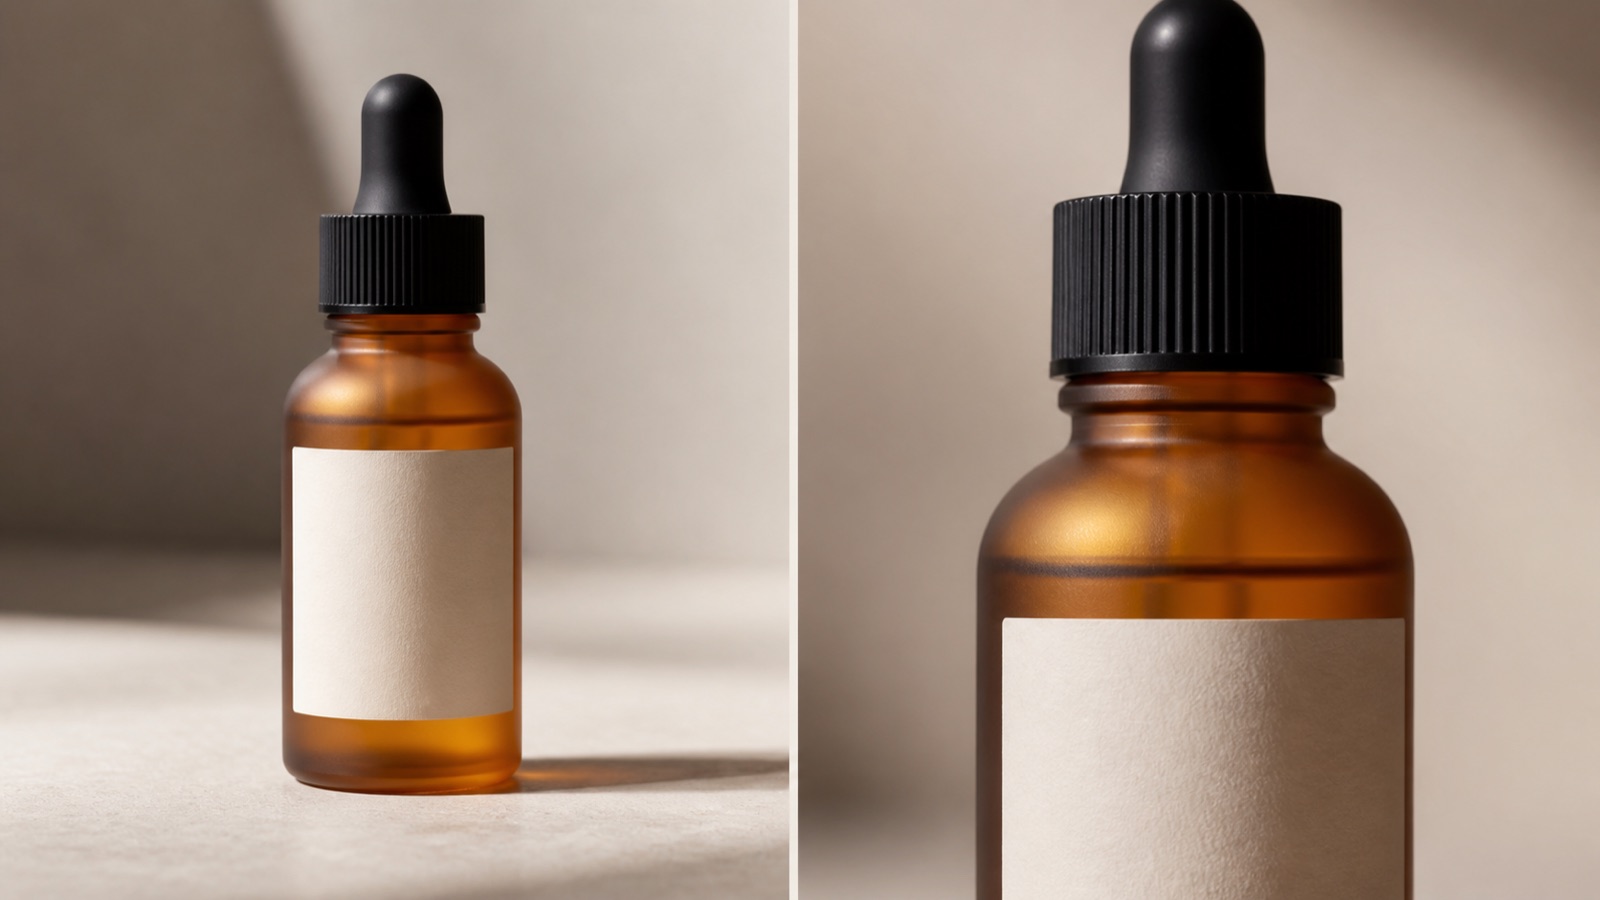
Compare stable landmarks, not just the overall mood.
Watch the result once at normal speed, then scrub it slowly. Mood can look polished while the product quietly changes underneath it.
| Area | What to compare | Common failure | Best next move |
|---|---|---|---|
| Silhouette | Height, width, shoulder curve, base | Bottle inflates or narrows | Reduce camera rotation and scene motion |
| Closure | Cap height, threads, pump, dropper | Cap bends or changes material | Use a clearer source and a slower move |
| Label | Position, border, large characters | Text swims or becomes invented | Shorten the clip and restore exact art in post |
| Material | Glass, metal, plastic, fabric | Surface turns waxy or changes finish | Simplify lighting and reflections |
| Color | Product and package color | Hue shifts with the background | Specify neutral light and color consistency |
| Contact | Shadow and surface contact | Product floats or sinks | Ask for a grounded shadow and static product |
Change one variable at a time
If the cap bends, do not also replace the background and double the duration. Keep the source frame, length, and composition fixed, then simplify the camera instruction. This produces a useful comparison between versions.
Know when to stop regenerating
Some errors are cheaper to fix in an editor. A slightly soft label can be replaced with approved package art. A beautiful clip with a changing bottle shape is not a small cleanup; reject it. Set acceptance rules before you generate so visual polish does not override product accuracy.
A related product-reference example
The clip below is an existing product-reference demonstration in which a product inside a gift-box video is changed using a face-cream reference image. It shows why package shape and placement need close review. It uses a video-to-video reference workflow, so it should not be treated as a benchmark for the image-to-video route described in this guide.
That distinction matters. A related example can illustrate a review method, but it cannot prove that a different model route, input, or prompt will produce the same result.
A practical first-session workflow
- Choose one approved product photo with the full silhouette visible.
- Decide where the clip will appear and prepare the source composition for that placement.
- Open the Kling AI image-to-video generator and upload the image as the start frame.
- Select Kling 3.0, 4 or 5 seconds, and 720p for the first draft.
- Use one conservative prompt, such as the hero shot above.
- Review silhouette, closure, label, material, color, and contact shadow.
- Revise only the failing instruction or source-photo issue.
- Generate the detail, lifestyle, and reveal shots as separate clips.
- Move selected shots to 1080p if your delivery needs it.
- Edit the clips, restore exact packaging artwork where required, and export for each placement.
This workflow is slower than pressing generate once, but much faster than discovering a packaging error after an ad has been cut into six formats.
Frequently asked questions
Can Kling AI make a product video from one photo?
Yes. The image-to-video route uses a start image plus an optional motion prompt. A clean photo and a restrained camera move are the most reliable place to begin. The result still needs a product-accuracy review.
What is the best prompt for an ecommerce product video?
Describe the exact product landmarks that must stay fixed, then request one camera move and one lighting setup. Avoid stacking many scene changes into the first version.
How long should the first product clip be?
Four or five seconds is a practical draft length. It gives you enough motion to judge the shot while limiting the time available for shape or label drift.
Will the label stay perfectly readable?
Do not assume perfect text preservation. Use a sharp, front-facing source, keep motion modest, and plan to restore legally important package text in post if needed.
Should I generate vertical or landscape first?
Start with the placement that matters most. For vertical social, compose the source for 9:16 with interface-safe space. For a product page, a landscape or square master may be easier to reuse.
Does a higher resolution fix product distortion?
No. Resolution can improve detail, but it does not correct geometry, label drift, or a poor camera path. Fix the source image and motion instruction first.
Create the first shot
Use one approved product image and one simple camera move. Open the Kling AI image-to-video generator, make a short draft, and judge the product before you judge the mood.
Sources and methodology
- Kuaishou: Kling AI Launches 3.0 Model, checked for the model family's image-to-video, duration, consistency, shot-control, text-preservation, and ecommerce statements.
- Kuaishou: Fourth Quarter and Full Year 2025 Results, checked for the official description of Kling 3.0's multimodal and image-to-video scope.
- KlingVideo's current image-to-video generator and model configuration, checked for the controls available on this site.
- The product-reference clip is used only to demonstrate review points. It is not a controlled Kling 3.0 image-to-video comparison, and this guide makes no conversion, success-rate, or perfect-fidelity claim.
Last verified: August 19, 2026.