
Quick answer
Before you start a Kling AI image-to-video generation, check seven things: the subject is sharp, important edges are visible, limbs and products are not awkwardly cropped, the background is simple enough to stay stable, the frame leaves room for the intended movement, the prompt separates what must stay fixed from what should move, and the final pose is clear. This checklist is for people who have already chosen the image-to-video workflow. It does not repeat the upload buttons.
A clean reference image will not guarantee a perfect clip, but it removes several avoidable sources of distortion. Kuaishou's official guide recommends a prompt built from Subject + Movement and shows that vague wording can produce unintended interpretations. KlingVideo's current image-to-video generator accepts a start image plus a prompt, so the image and the instruction need to agree. If the image shows a tight portrait but the prompt asks for a full-body spin, fix the input pair before spending credits on another attempt.
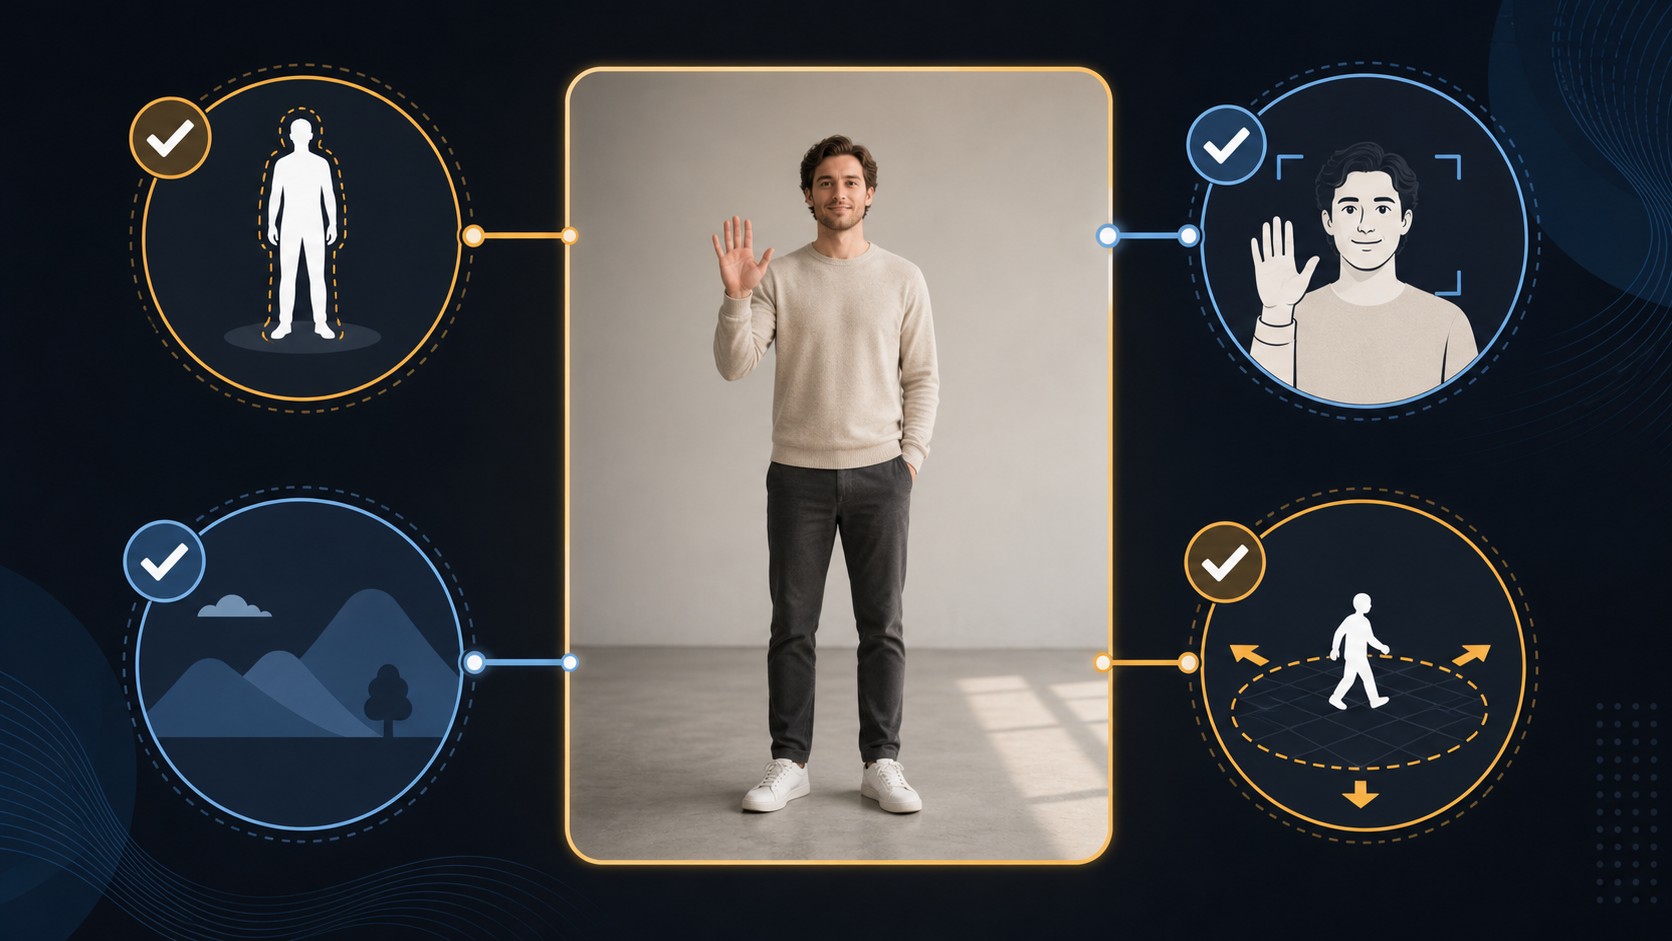
The seven checks before you generate
| Check | What to look for | Fix before generating |
|---|---|---|
| Subject clarity | Face, product shape, or main illustration is easy to identify | Use a sharper image with a clear focal subject |
| Edges | Hair, hands, clothing, and product outline are separated from the background | Increase contrast or choose a cleaner background |
| Occlusion | Important joints, handles, labels, or facial features are not hidden | Choose a view that exposes the parts expected to move |
| Crop | The frame includes the body or object area needed by the motion | Widen the crop instead of asking the model to invent missing parts |
| Background | Lines and objects do not compete with the subject | Simplify the scene or reduce the requested camera movement |
| Motion space | The subject has room in the direction of travel | Reframe so the action does not immediately hit an edge |
| Prompt agreement | Fixed elements, motion, camera, and ending hold do not contradict the image | Rewrite the instruction as four separate decisions |
Run the checks in this order. A prompt rewrite cannot reveal a hand hidden behind the body, and a sharper image cannot resolve two camera instructions that point in opposite directions.
Check the subject, edges, occlusion, background, and frame
Start with the subject. For a person, inspect the face, hands, feet, hairline, and any clothing that overlaps the body. For a product, inspect its silhouette, corners, labels, reflections, and contact point with the surface. For an illustration, make sure the intended character is visually distinct from decorative lines.
Then trace the outer edge with your eyes. Similar subject and background colors make the boundary harder to preserve. Busy branches behind hair, a dark sleeve against a dark wall, or a transparent bottle in front of reflective glass can create an ambiguous starting frame. The practical fix is usually a better reference, not a longer prompt.
Occlusion matters when the motion needs a hidden part. A waist-up portrait is a poor source for a request such as “the character takes three full steps backward.” The missing legs have to be invented while the body is moving. Either request motion that fits the visible crop or prepare a wider image.
Finally, check available space. If a skateboarder already touches the right edge, asking for a fast move to the right gives the shot nowhere to go. Reframe the image or request a smaller action with a stable camera.
Separate fixed elements, motion, camera, and ending hold
The official Kling image-to-video guide uses a simple Subject + Movement formula. For production work, it helps to make that formula more explicit without turning it into a wall of adjectives.
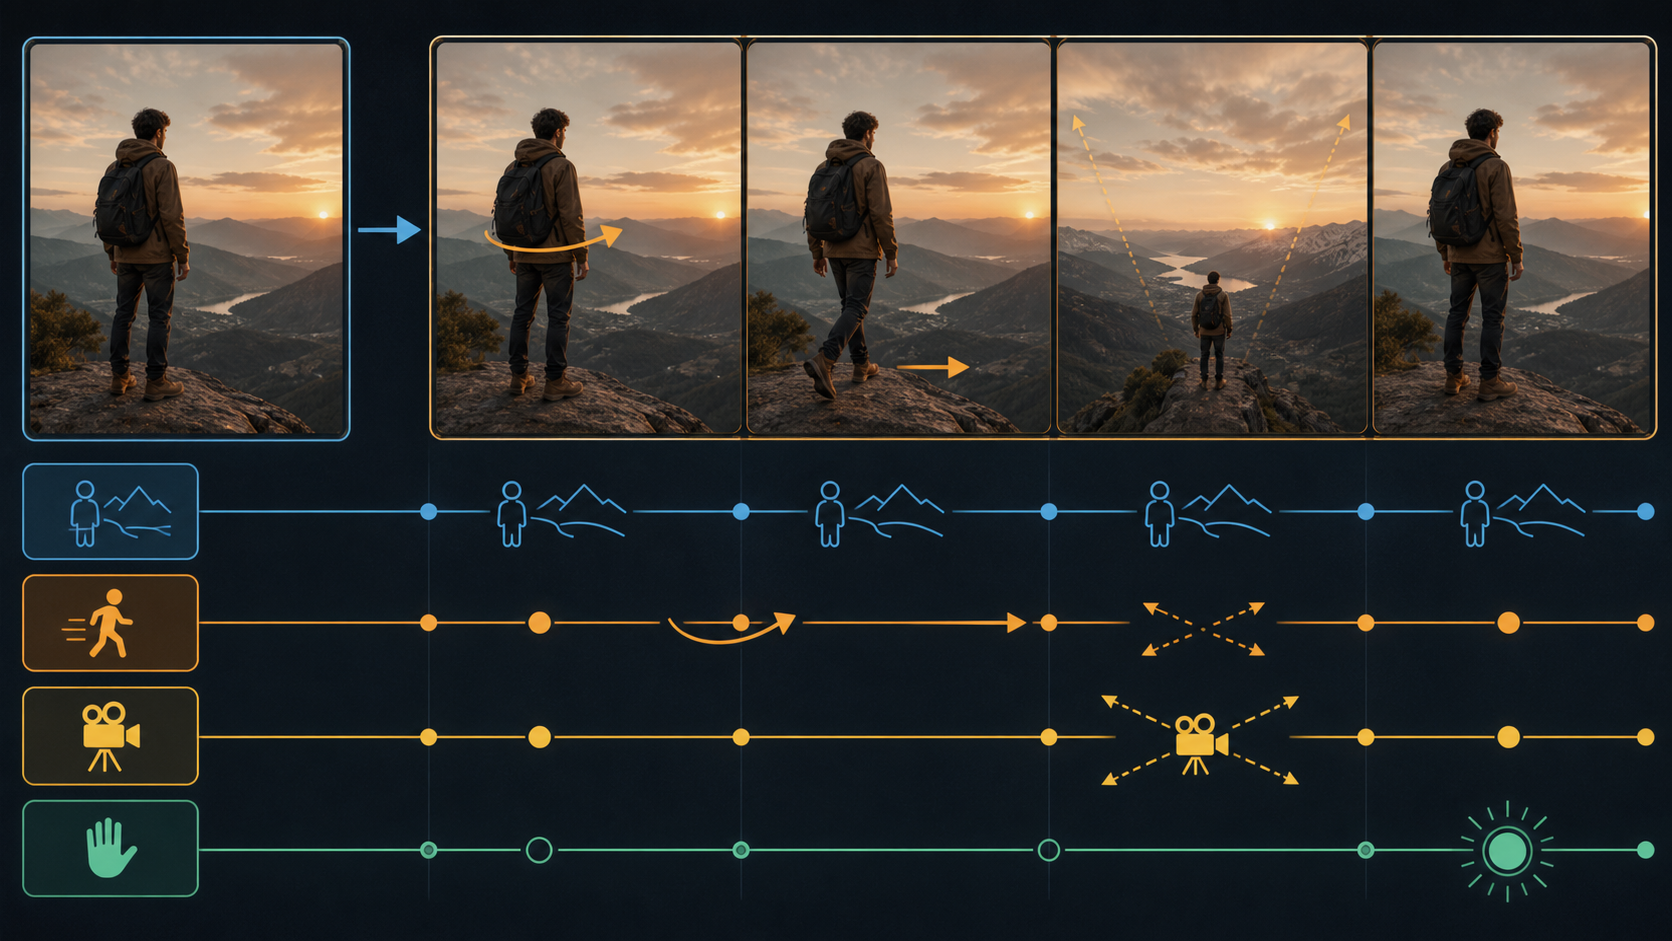
Use this structure:
Fixed elements: Keep the red ceramic mug, the printed logo, and the wooden table unchanged.
Motion: A hand enters from the left and gently rotates the mug by a quarter turn.
Camera: Static medium close-up, no zoom, no pan.
Ending hold: The hand leaves the frame and the mug remains still for the final second.
“Fixed elements” names the identity details that should not drift. “Motion” gives one readable action. “Camera” decides whether the viewer or the subject moves. “Ending hold” prevents the instruction from ending in an undefined transition.
Avoid packing incompatible directions into the same prompt. “Static camera, dramatic orbit, close-up, then wide aerial view” does not establish a priority. Pick the one camera behavior needed to judge the idea.
The official guide also gives a useful warning about ambiguous language: an instruction such as “wear sunglasses” can be interpreted as putting on sunglasses rather than continuing to wear them. Describe visible state and action separately. For example: “The subject keeps the black sunglasses on. She turns her head slightly toward the window.”
Adjust the input for portraits, products, and illustrations
| Input type | Protect first | Motion that is easier to evaluate | Common avoidable problem |
|---|---|---|---|
| Portrait | Face shape, eyes, hairline, hands | Head turn, blink, small body shift | Asking a tight crop to produce unseen full-body movement |
| Product | Silhouette, logo, material, surface contact | Slow rotation, controlled hand interaction | Reflections and labels changing during a large camera move |
| Illustration | Character outline, line style, color blocks | One clear character action | Decorative lines merging with moving limbs |
Portraits benefit from modest first tests. If identity is the main requirement, begin with a blink, a small head turn, or a gentle shift. Products need stable geometry and readable labels, so a static camera often makes the first result easier to judge. Illustrations need clean separation between the character and the background because the model has fewer photographic depth cues to work with.
A reviewable good and bad reference example
Consider two inputs for the same request: “A woman takes two steps forward, raises her right hand, and holds the final pose. Static full-body camera.”
Better input: a sharp full-body image, both hands and feet visible, simple background, subject near the center, and open space in front of her. The image and requested movement use the same framing.
Poor input: a waist-up portrait, right hand behind the torso, one shoulder cropped, and patterned people in the background. This input does not show the body parts required by the instruction and gives the model several competing shapes.
This is an input-quality diagnosis, not a claim that one picture guarantees a successful output. The comparison is reviewable before generation: you can confirm which body parts are visible, whether the frame includes the motion, and whether the background competes with the subject.
Symptom to input problem to first fix
| Symptom in the clip | Likely input conflict to inspect | First fix |
|---|---|---|
| Face or product identity changes | Small or unclear identity features | Use a sharper, larger subject and reduce motion amplitude |
| Extra or distorted limbs | Hidden joints, tight crop, overlapping objects | Choose a reference with visible limbs and simpler overlaps |
| Background bends or swims | Busy background plus camera or subject motion | Simplify the background or lock the camera |
| Subject leaves the frame | No space in the direction of travel | Reframe with motion space or reduce travel distance |
| Action starts correctly but ends awkwardly | No defined final state | Add a short ending hold and final pose |
| Camera feels unpredictable | Several camera directions in one prompt | Keep one camera instruction for the test |
These are inspection priorities, not one-to-one diagnoses. Change one input at a time so you can tell whether the reference, motion, or camera instruction made the difference.
Generation-ready prompt checklist
Before submitting, read the image and prompt together:
- Can I see every important part needed by the action?
- Is the subject large and sharp enough to recognize?
- Does the background separate from the subject?
- Is there room for the requested movement?
- Did I state what must remain fixed?
- Did I ask for one main action and one camera behavior?
- Did I describe the final pose or ending hold?
- Am I testing one change rather than rewriting everything?
If the answer to one of the first four questions is no, prepare a better image. If the conflict is in questions five through seven, simplify the prompt. For model capabilities and supported settings, see Kling 3.0. For the current generation entry, open the KlingVideo image-to-video workflow.
FAQ
What is the best image for Kling AI image to video?
Use a sharp image with one clear subject, visible features and joints, clean edges, a background that does not compete with the subject, and enough frame space for the intended movement. The best crop depends on the action. A portrait is suitable for a small head turn, but not for a full-body walk.
Should I describe the image again in the prompt?
Name the identity details that must stay fixed, then describe the movement, camera, and ending. You do not need to inventory every visible object. Focus on details whose change would make the result wrong.
Why does the background move when I only asked the subject to move?
First inspect whether the background is visually busy and whether the prompt also requests a camera move. Test a simpler background or a static camera before concluding that the model is the only cause.
Can a longer prompt fix a cropped or hidden limb?
Not reliably. A prompt can request motion, but it cannot provide visual evidence that is absent from the reference. Use a wider image or request motion that fits the visible body area.
Should I generate at the highest settings first?
Use a short, controlled test that answers one question first. Once the image and motion agree, choose the output settings you need for delivery.
Animate your image with KlingVideo
Prepare a reference that passes the visual checks, keep one movement and one camera choice, then start an image-to-video generation. If the first result misses the goal, change the most likely input conflict before changing everything else.
Sources and methodology
- Kling AI Image-to-Video Guide, official Kuaishou Kling AI documentation. Used for the Subject + Movement prompt formula and the warning about ambiguous action wording. Accessed 2026-07-21.
- Kling 3.0 and KlingVideo Image-to-Video, current KlingVideo product pages. Used to confirm the supported site workflow and route. Verified 2026-07-21.
The good and poor reference comparison is a pre-generation input audit based on visible framing, occlusion, and prompt agreement. No paid generation was run for this article, and the checklist does not guarantee a particular output. Last verified: 2026-07-21.