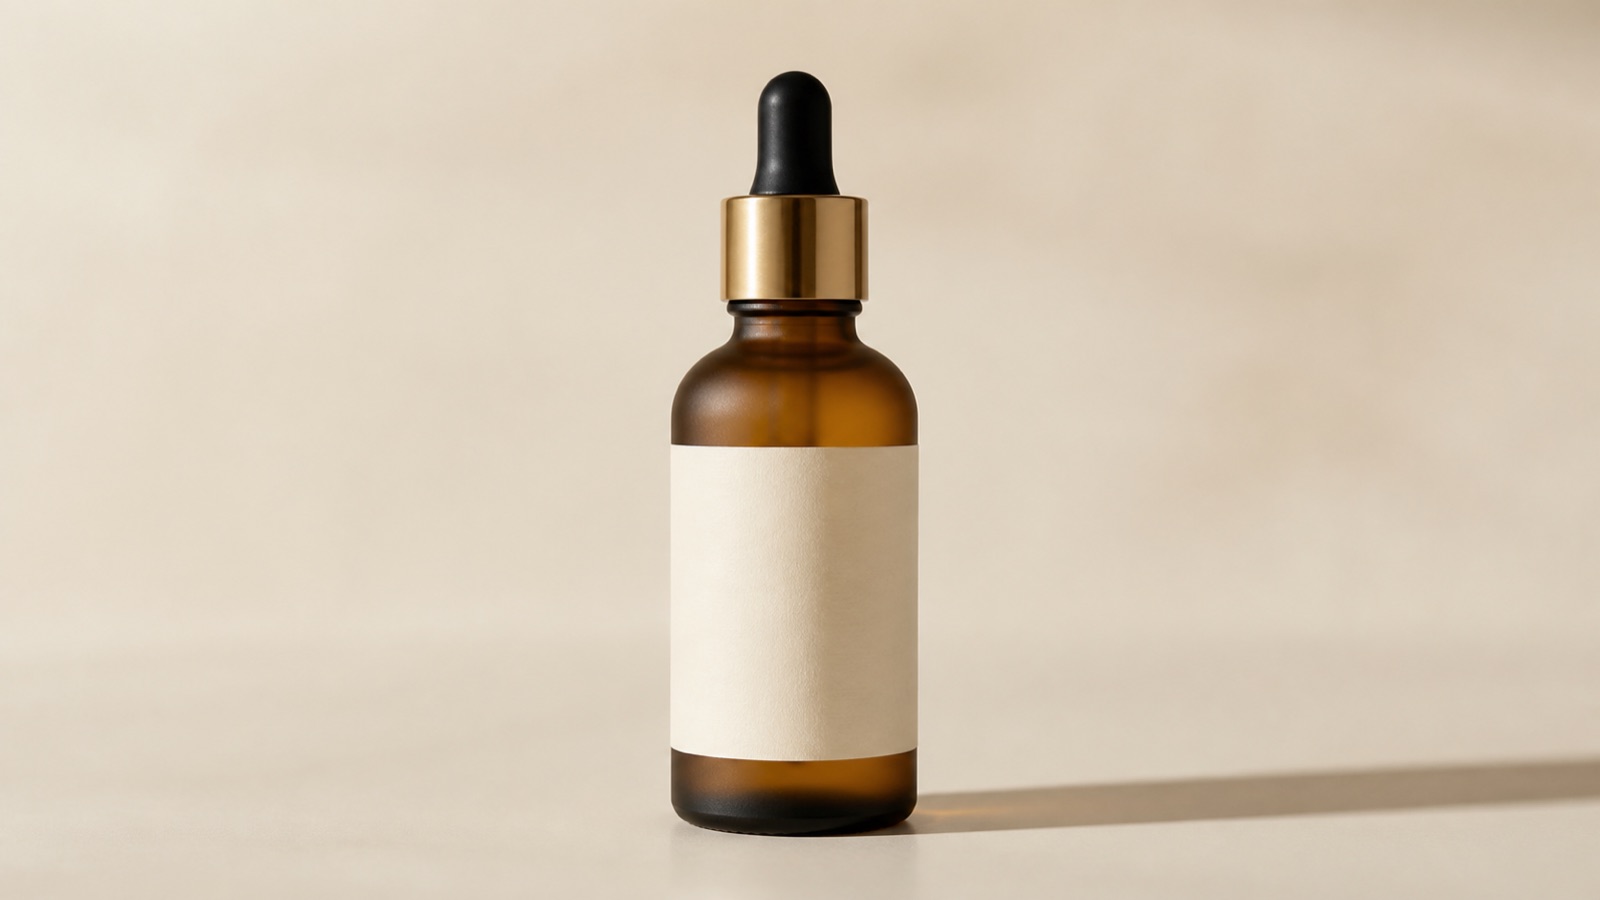
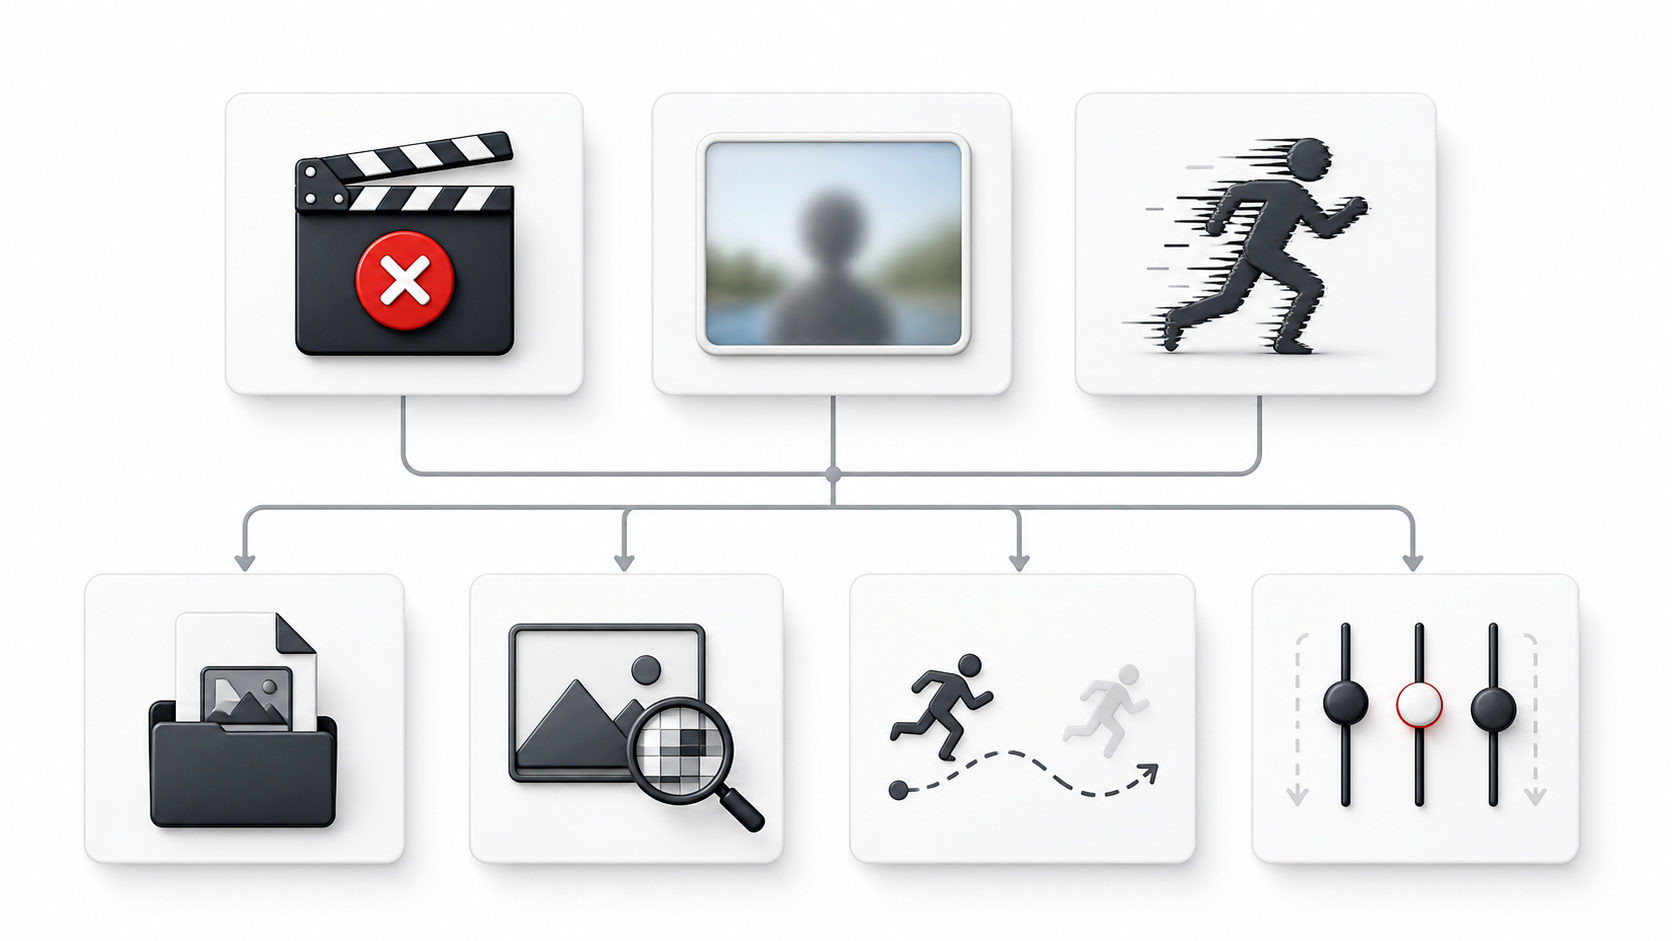
Kling AI Seamless Loop Product Videos
Quick answer
A seamless product loop works when the final frame can hand back to the first without an obvious jump. Kling 3.0 does not need a dedicated Loop switch for this. Use the image-to-video workflow, keep the product and camera path simple, and make the start and end visually compatible. The most controlled setup is First + Last Frames with the same product image, or two carefully matched images. Then ask for one closed motion cycle, such as a gentle lift and return, a controlled orbit that settles at its opening angle, or a light sweep that returns to its starting position.
Generate a short draft, watch it three times in a row, and repair the join in an editor when needed. A tiny trim or crossfade often works better than asking for more motion.
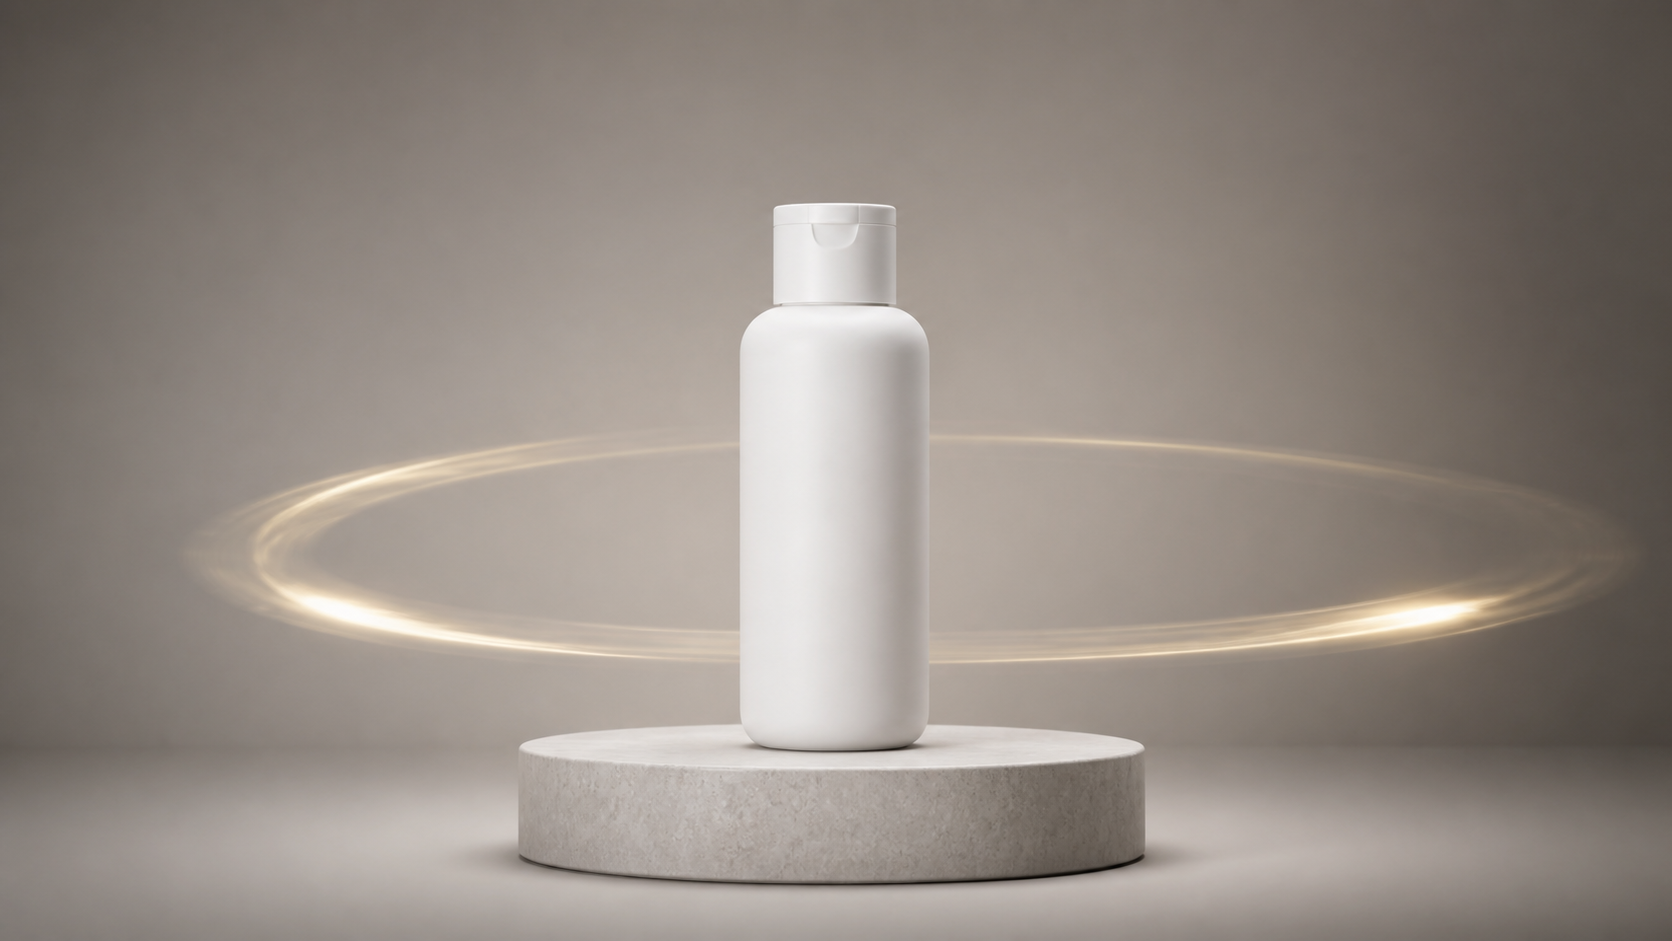
Scene prompt example: a white skincare bottle centered on a circular plinth, soft studio light moving in one calm orbit, fixed composition, clean pale background, premium product film.
What counts as a seamless product loop?
A useful loop does not have to be mathematically identical at every pixel. It has to hide the reset at normal viewing speed. Check four things at the seam:
- The product returns to the same position, scale, and angle.
- The camera ends where it started.
- Shadows, reflections, particles, and background elements do not snap.
- Motion speed feels continuous through the cut.
This is easier with a clean product photo than a busy scene. If the input needs work, use the image-to-video checklist before building the loop.
Pick a loop-safe shot
Choose one visual idea and keep it narrow. Symmetrical packaging, centered products, locked cameras, and restrained backgrounds are forgiving. Transparent bottles, loose fabric, hands, pouring liquids, and readable labels are harder because small changes become obvious at the join.
Protect the commercial details. State that the logo, label geometry, cap, edges, and product proportions must remain unchanged. Ask for background motion separately from product motion. This gives the model fewer ways to redesign the item.
Three loop structures that work
1. Closed orbit
Use this for bottles, shoes, devices, or rigid packages. Start with the product facing front. Ask the camera to make one slow, controlled orbit and settle on the exact opening angle. Keep the background plain and the product stationary.
Premium studio product shot. The camera completes one slow, smooth orbit around the centered product and returns to the exact starting angle and distance. The product remains rigid and unchanged. Lighting and reflections return to their opening positions. No text changes, no deformation, no extra objects.
An orbit is ambitious. If the ending angle misses, trim before the mismatch or use the first frame as the last-frame reference.
2. Float and return
This is usually more reliable. The product rises a short distance, pauses, and settles back into its original pose. Use a fixed camera and describe one complete motion cycle.
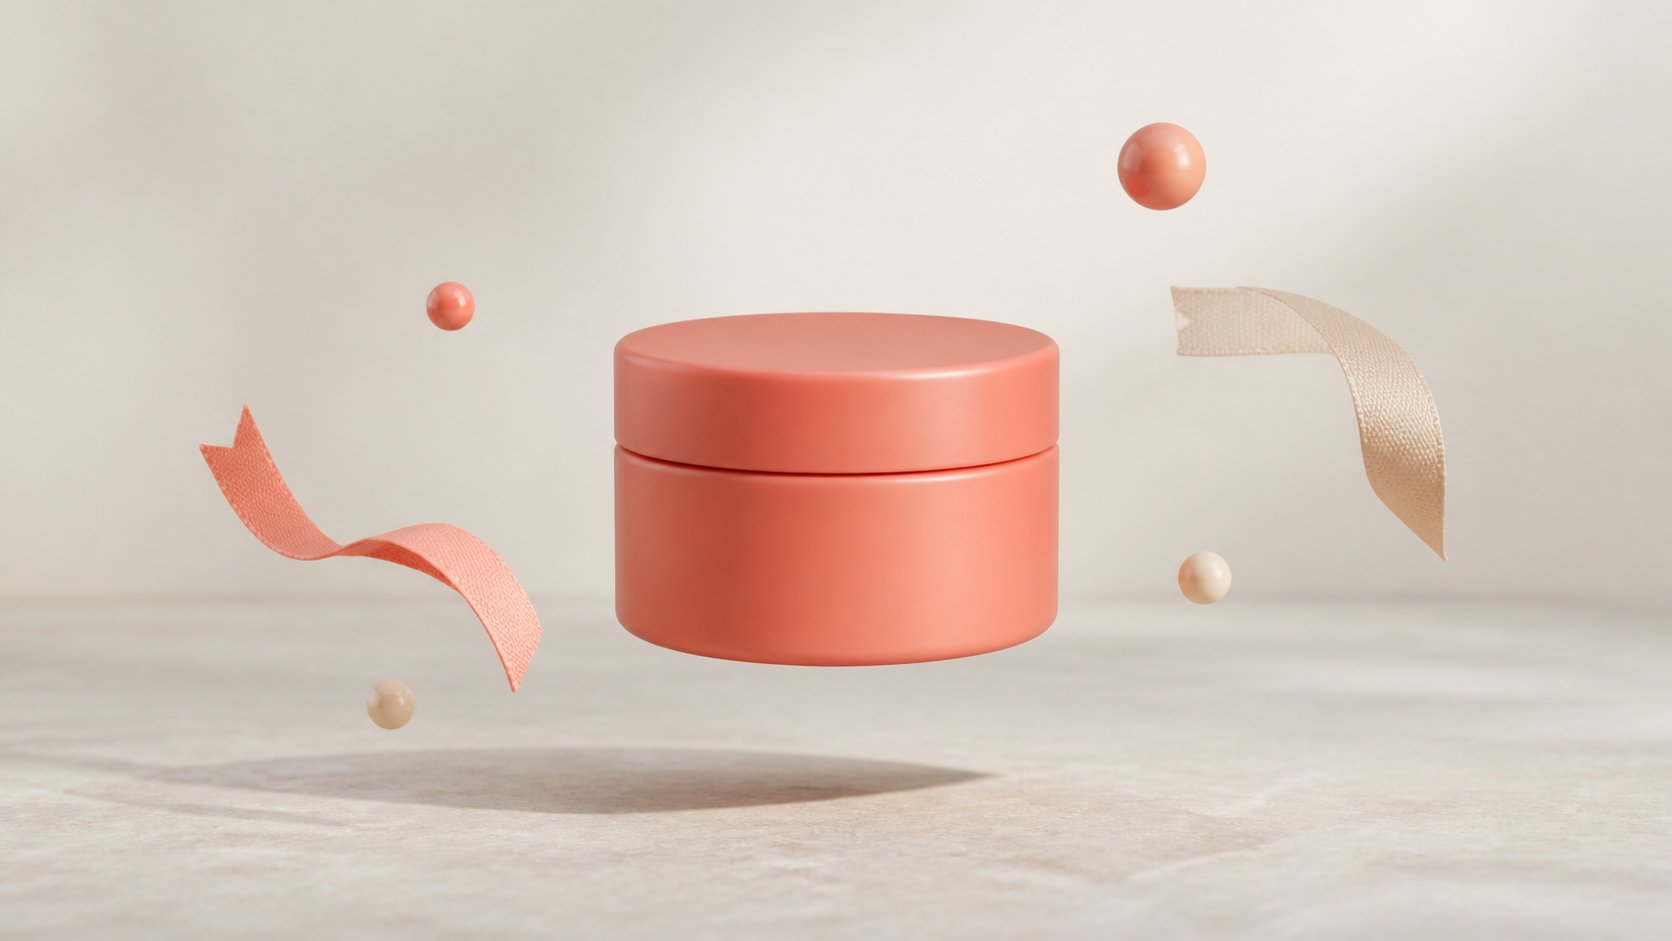
Scene prompt example: a coral cosmetic jar rises gently, ribbon-like forms drift around it, then every element returns to its opening position, fixed camera, warm studio lighting.
The product lifts gently, reaches one calm high point, then returns to its exact starting position and orientation. The camera is locked. Decorative elements follow a single smooth cycle and return to the first-frame arrangement. Preserve the label and package shape.
3. Ambient motion
Keep the product still and loop only the environment. A reflection can travel across a metal surface, a soft light band can pass behind the object, or a few particles can drift in a repeatable path. This is the safest option for product detail pages because the item itself stays readable.
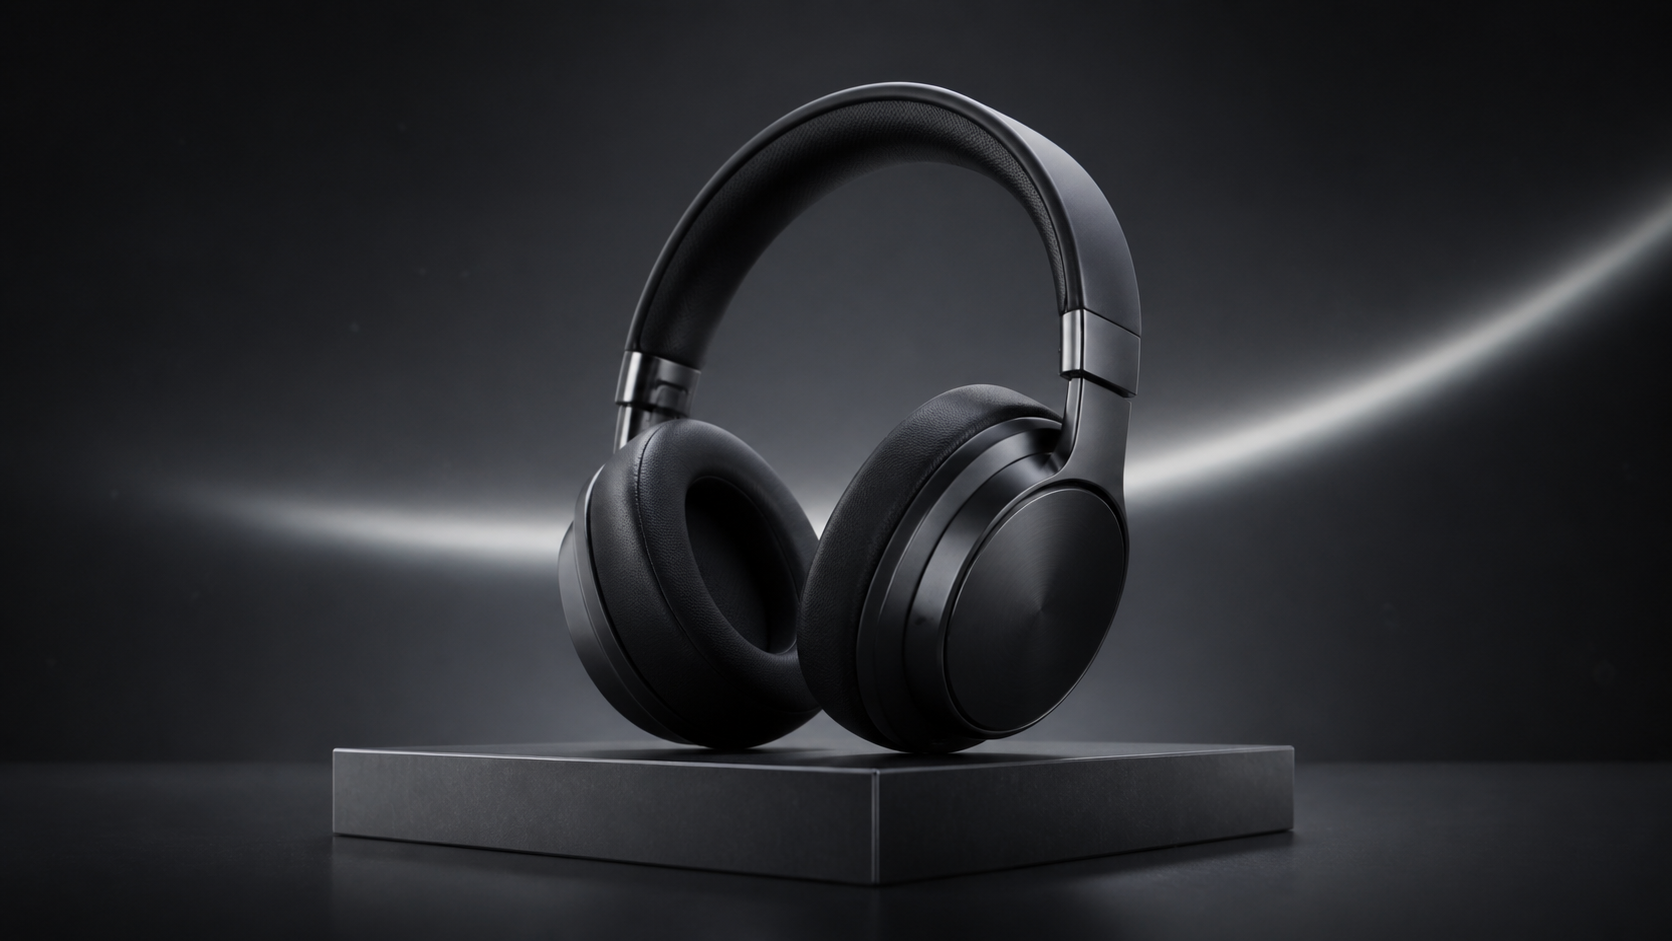
Scene prompt example: black headphones remain perfectly still while one soft reflected light band passes across the background and returns to its opening position, fixed camera, graphite studio set.
Build the clip in Kling 3.0
- Open the Kling image-to-video generator and select Kling 3.0.
- Choose First + Last Frames when you have a matched endpoint. Upload the same clean product image twice for a strict return, or use two images with identical crop, scale, camera angle, and lighting.
- Write one motion cycle. Name the start, the midpoint, and the return.
- Keep the first draft short. The current workflow supports 4 to 15 seconds, but a compact cycle gives motion less time to drift.
- Generate without sound unless audio is part of the concept. Visual and audio seams are separate editing problems.
Using the same image at both ends encourages a return. It does not guarantee a perfect seam. For control details, see the start and end frame guide.
Repair the seam in an editor
Put two copies of the clip back to back. Watch the join at full speed, then frame by frame.
- Trim dead frames or the first sign of a direction change.
- Cut at the lowest-motion moment.
- Add a very short dissolve only when lighting or particles need help.
- Try a forward-reverse sequence for abstract motion, but avoid it when gravity, liquids, smoke, or people would look unnatural in reverse.
- Match color and exposure before judging the movement.
Do not hide a large camera jump with a long dissolve. Regenerate with a simpler path or a stronger last-frame reference.
Seam troubleshooting
| Problem | Likely cause | Fix |
|---|---|---|
| Product jumps sideways | Start and end crops differ | Reuse one endpoint image or align both images precisely |
| Label or shape changes | Too much product motion | Lock the camera, reduce movement, protect label and geometry in the prompt |
| Orbit never closes | Camera path is too complex | Shorten the arc, slow the camera, or switch to ambient motion |
| Light flashes at the join | End exposure differs | Keep lighting fixed or cut during the darkest, slowest moment |
| Motion hesitates | The cycle has too many beats | Use one rise and return, or one sweep and return |
| Audio clicks | Sound does not share the visual endpoint | Generate silent and loop audio separately |
Loop quality checklist
- Watch at least three repeats without looking away.
- Check the product outline, label, shadow, and reflection at the join.
- Test the clip at the size used on the product page or ad.
- Confirm the first frame loads cleanly before autoplay begins.
- Export once, then inspect the compressed file again.
- Keep a silent version for placements where autoplay starts muted.
For a broader product-photo workflow, see how to create ecommerce product video from one photo.
Frequently asked questions
Does Kling 3.0 have a Loop switch?
The current KlingVideo workflow does not expose a dedicated Loop switch for Kling 3.0. Build a closed motion cycle with compatible first and last frames, then finish the seam in an editor if needed.
Should I upload the same image as the first and last frame?
It is a useful starting point for a strict return. It can reduce endpoint drift, but it cannot guarantee that every moving element will match.
How long should a product loop be?
Use the shortest duration that makes the motion feel intentional. Simple ambient loops can be brief. A controlled orbit may need more time so it does not feel rushed.
Is ping-pong playback a seamless loop?
It removes the endpoint jump by reversing the clip, but the turnaround can still be visible. It works best for soft, reversible motion and poorly for gravity-driven action.
Can I use a loop on a product page?
Yes. Keep the product readable, compress the asset carefully, provide a clean poster frame, and check muted autoplay behavior in the final page context.
Make the first loop
Start with the float-and-return or ambient-light structure. They preserve product detail and are easier to close than a full orbit. Open the Kling image-to-video generator, use a clean product frame, describe one complete cycle, and judge the result as a repeated loop rather than a single play.
Sources and methodology
This workflow was checked against the current KlingVideo product configuration, Kuaishou's official announcements for start and end frame control and Kling 3.0, plus Kling's public perfect loop creation example. Product controls and linked pages were last checked on August 22, 2026.