Storyboard to AI Short Film with Kling 3.0
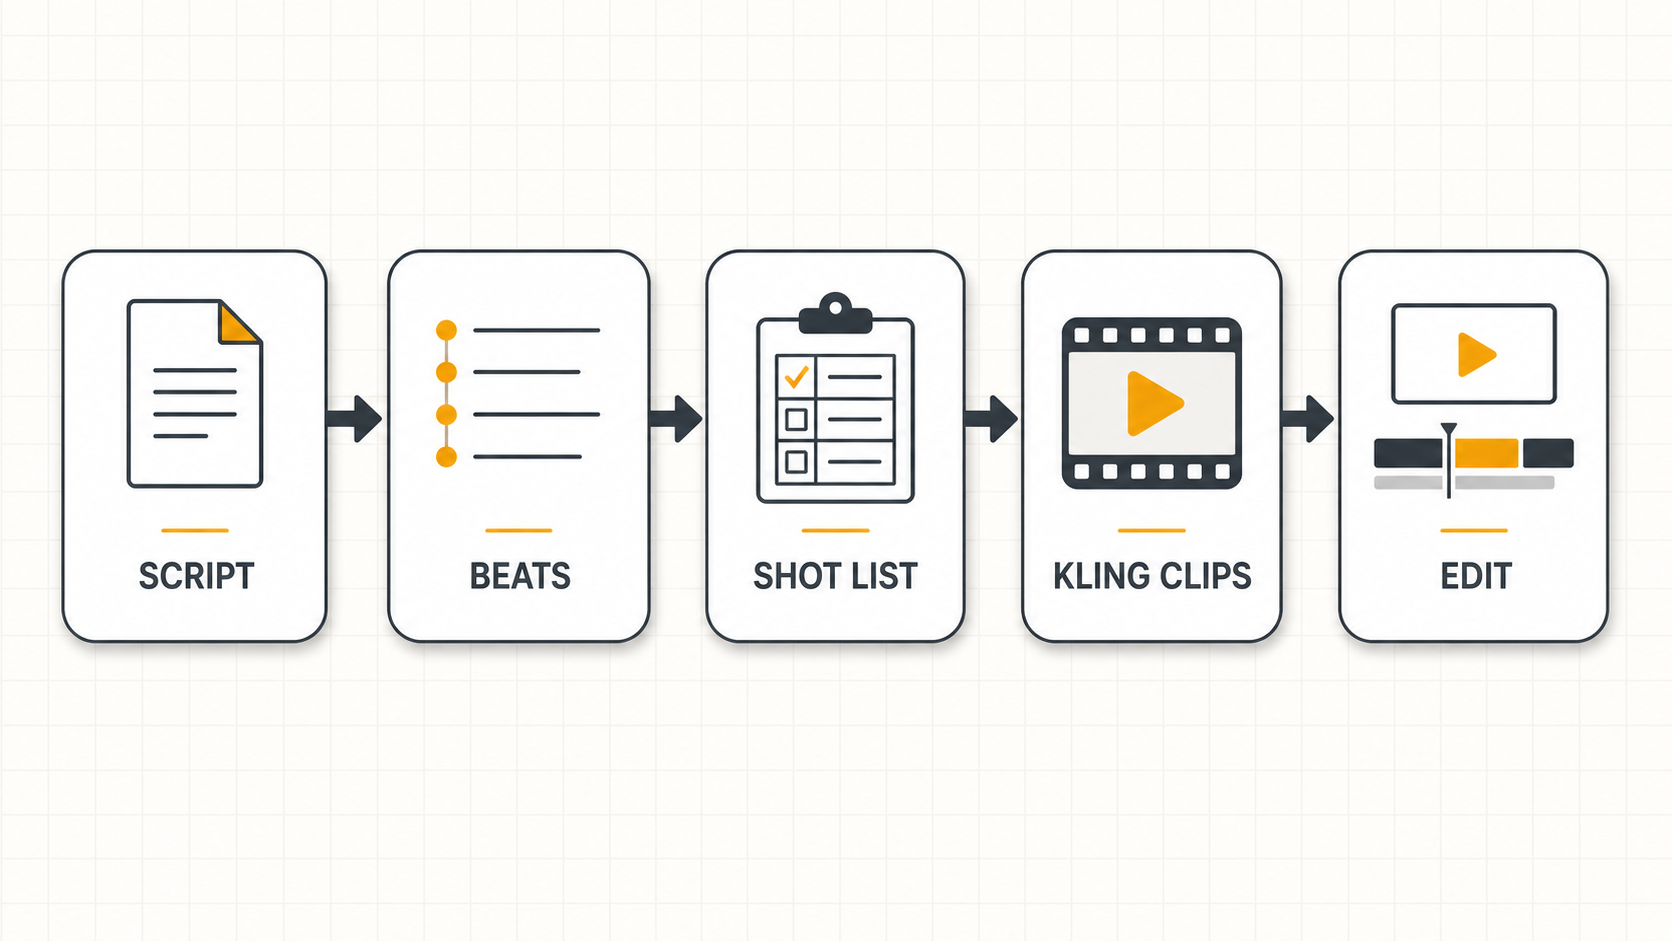
A storyboard becomes an AI short film when every approved panel is treated as a controlled shot source, not as a loose visual suggestion. Clean each panel, write a compact motion brief, generate one clip at a time, then accept or reject that clip against the same continuity ledger. Kling 3.0 image-to-video is useful in this workflow because the starting frame carries composition, wardrobe, props, and screen direction into the generation. The editor still owns timing, sound, transitions, and the final sequence. This guide focuses on that handoff from panel to shot. It does not assume a native storyboard workspace inside KlingVideo, and it does not repeat a general multi-shot prompting workflow.
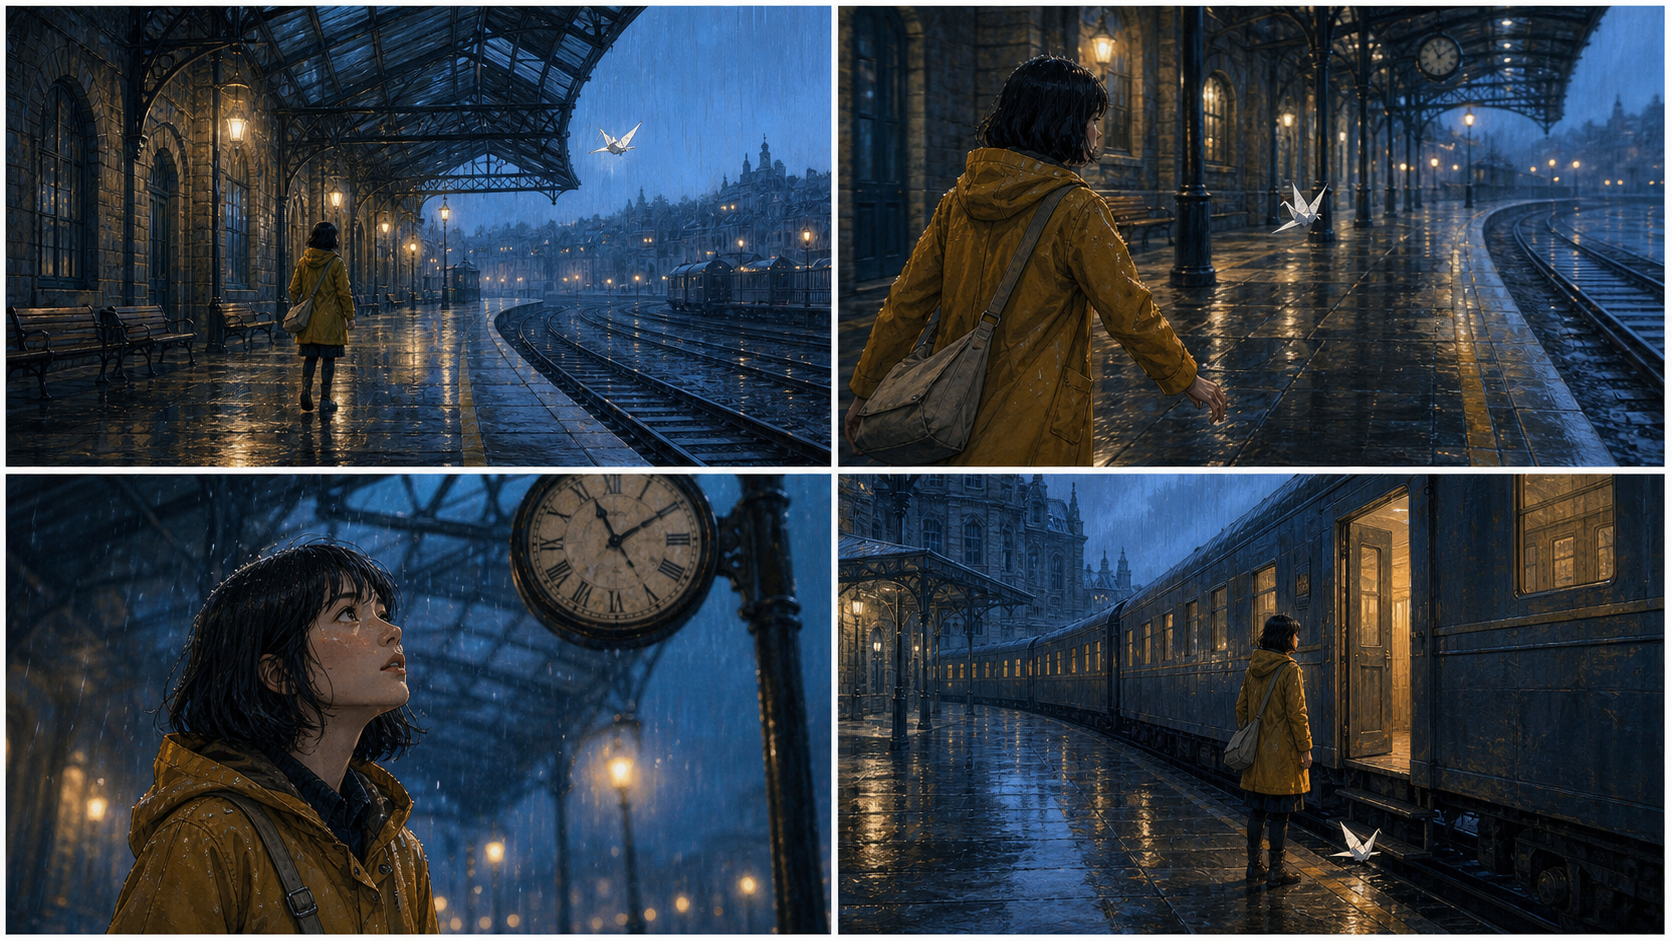
Prompt: A clean 2x2 cinematic storyboard, the same fictional woman in a mustard raincoat at a rainy railway station, a paper crane as the recurring prop, consistent face and costume, wide shot, medium shot, close-up, departure shot, soft natural light, no text, no logos.
Quick answer
Export one clean panel per shot. Lock the character and location facts in a shared ledger. For each panel, describe only the movement that must happen during that shot. Generate short clips, compare their first and last frames with adjacent shots, and assemble only accepted takes. Fix continuity at the frame or prompt level before trying to hide it in the edit.
1. Prepare storyboard panels for animation
The input frame does most of the visual anchoring. A panel that is easy for a human to interpret can still be ambiguous to an image-to-video model. Remove panel numbers, arrows, speech bubbles, notes, gutters, and neighboring frames. Crop to the delivery aspect ratio before generation. If a face, hand, or key prop matters, give it enough pixels to remain legible. Use the same approved character design and color treatment across the board. Do not expect a motion prompt to repair a contradictory drawing.
Panel export checklist
- One exported image for one intended shot
- Consistent aspect ratio and framing policy
- Readable face, hands, costume, and hero props
- No annotations or adjacent storyboard panels
- A filename that matches the shot number, such as SC03_SH020
2. Turn each panel into a shot brief
A useful shot brief is short enough to stay focused but specific enough to protect the edit. Separate what is already visible from what must change. The image establishes the subject and composition. The prompt should describe motion, camera behavior, timing, and the desired end state. Avoid rewriting the whole scene as prose.
| Field | Example |
|---|---|
| Shot goal | Reveal that the paper crane points toward the departing train |
| Subject motion | She opens her palm; the crane pivots once in the rain |
| Camera | Slow push-in, eye level, no orbit |
| Environment | Light rain and distant platform steam |
| End state | Hold on her hand with the train moving left in the background |
| Continuity lock | Mustard raincoat, right hand, train travels screen-left |
Use current Kling 3.0 controls deliberately
The KlingVideo image-to-video route currently requires a start image and offers 4 to 15 second durations, 720p or 1080p output, an optional sound setting, and prompts up to 2,500 characters. These controls were checked on August 23, 2026. Start with the shortest duration that contains the action. Longer clips create more time for faces, hands, props, or camera paths to drift. Use 720p for fast motion tests, then move approved shots to 1080p when the extra detail matters. A long prompt is available, but a narrow shot brief is usually easier to review.
Use the KlingVideo image-to-video workspace for this shot-level workflow. For prompt structure, see the Kling AI prompt guide.
A verifiable panel-to-clip example
The pair below is an existing KlingVideo first-party image-to-video example. It verifies the basic panel-to-clip handoff on the current site: one still image is used to produce one moving shot. It does not establish continuity across a full storyboard, so the ledger and acceptance checks in this guide remain necessary.
Why this storyboard tutorial is useful
This external tutorial was selected because it demonstrates a practical storyboard discipline: establish consistent characters, plan the panels, and animate them one at a time. It had 64,487 views and 2,500 likes when checked on August 23, 2026. It uses other tools, so it does not prove Kling output quality or Kling-specific continuity.
3. Maintain character, location, and screen direction
Continuity is a production record, not a phrase such as “same character.” Keep one small ledger beside the storyboard and update it only when a deliberate story change occurs. A repeated exact fact is easier to audit than a fresh description written for every shot. Screen direction deserves its own line because a flipped exit can break an otherwise good cut.
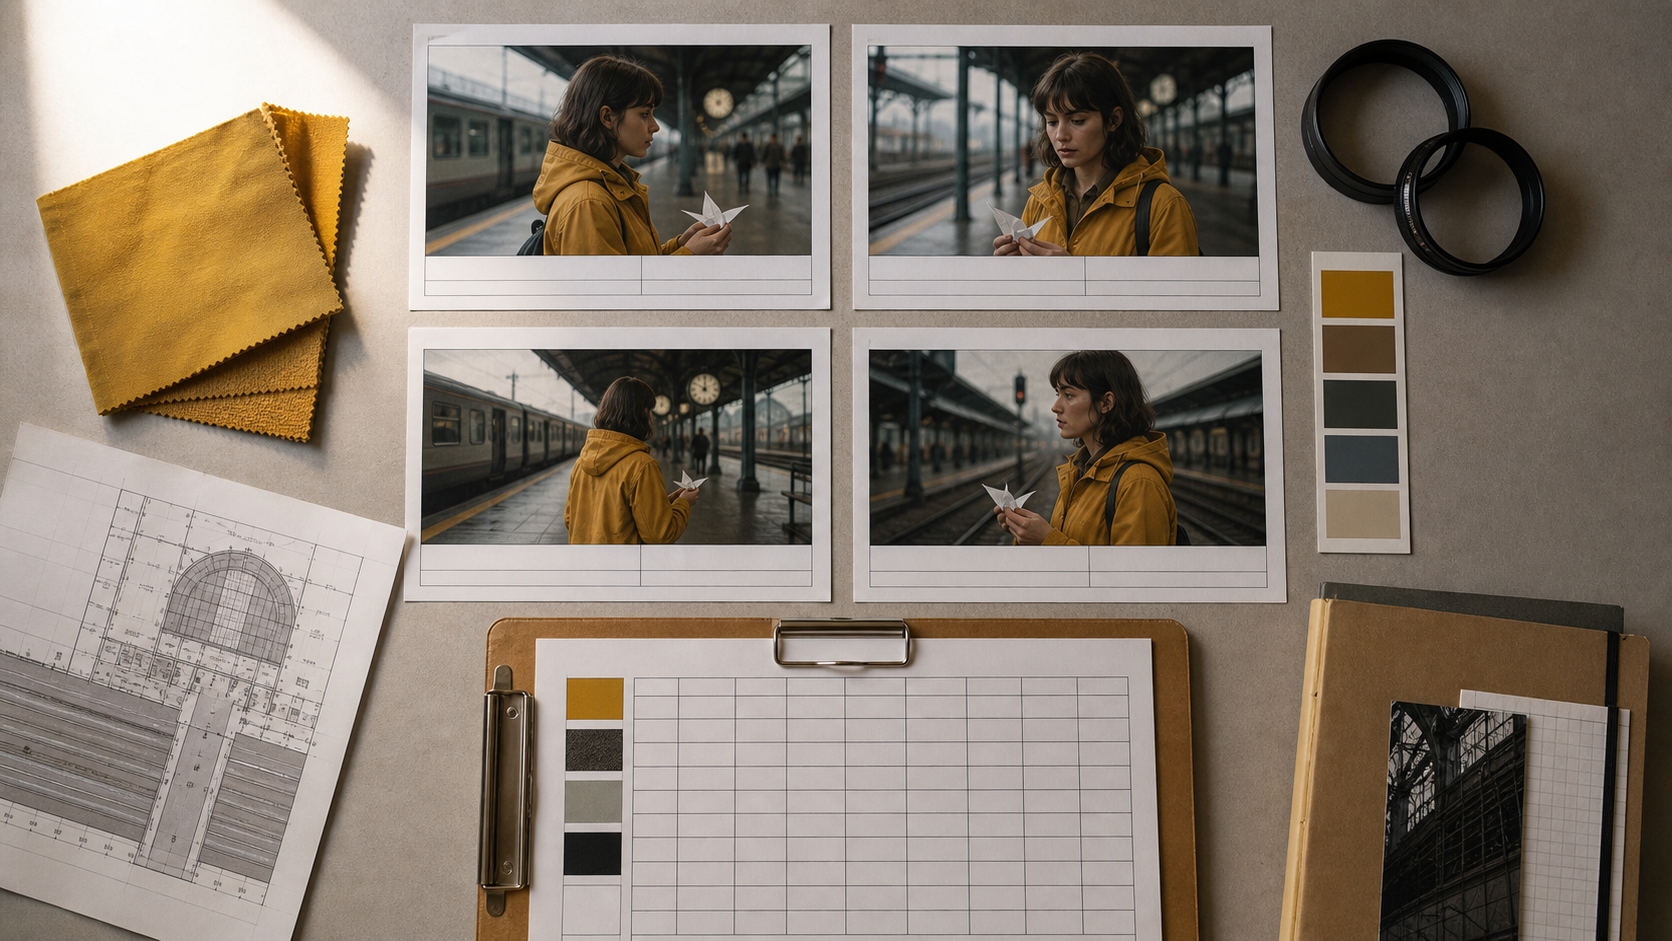
Prompt: A bright editorial flat lay showing a film continuity ledger, repeated portrait references of the same fictional woman in a mustard raincoat, matching fabric sample, prop sketches, color swatches, ruled production sheet, clean white desk, no readable text, no logos.
Continuity ledger
- Character: hair shape, outerwear, footwear, age range, and distinctive details
- Location: time of day, weather, light direction, palette, and recurring objects
- Props: owner, hand, condition, orientation, and when they enter or leave the story
- Movement: entry side, exit side, eyeline, travel direction, and camera axis
- Shot state: the last useful frame that the next shot must inherit
For a deeper character-reference workflow, use the Kling 3.0 character consistency guide.
4. Assemble and QA the short film
Review motion before polishing the edit. Watch each take once at normal speed, once muted, and once frame by frame around the first and last second. Reject a take when identity, anatomy, prop state, or screen direction changes in a way the story did not authorize. Place accepted takes in storyboard order, trim weak startup and cooldown frames, then build sound and transitions around the picture. A hard cut is often cleaner than a decorative transition when both sides share a deliberate visual match.
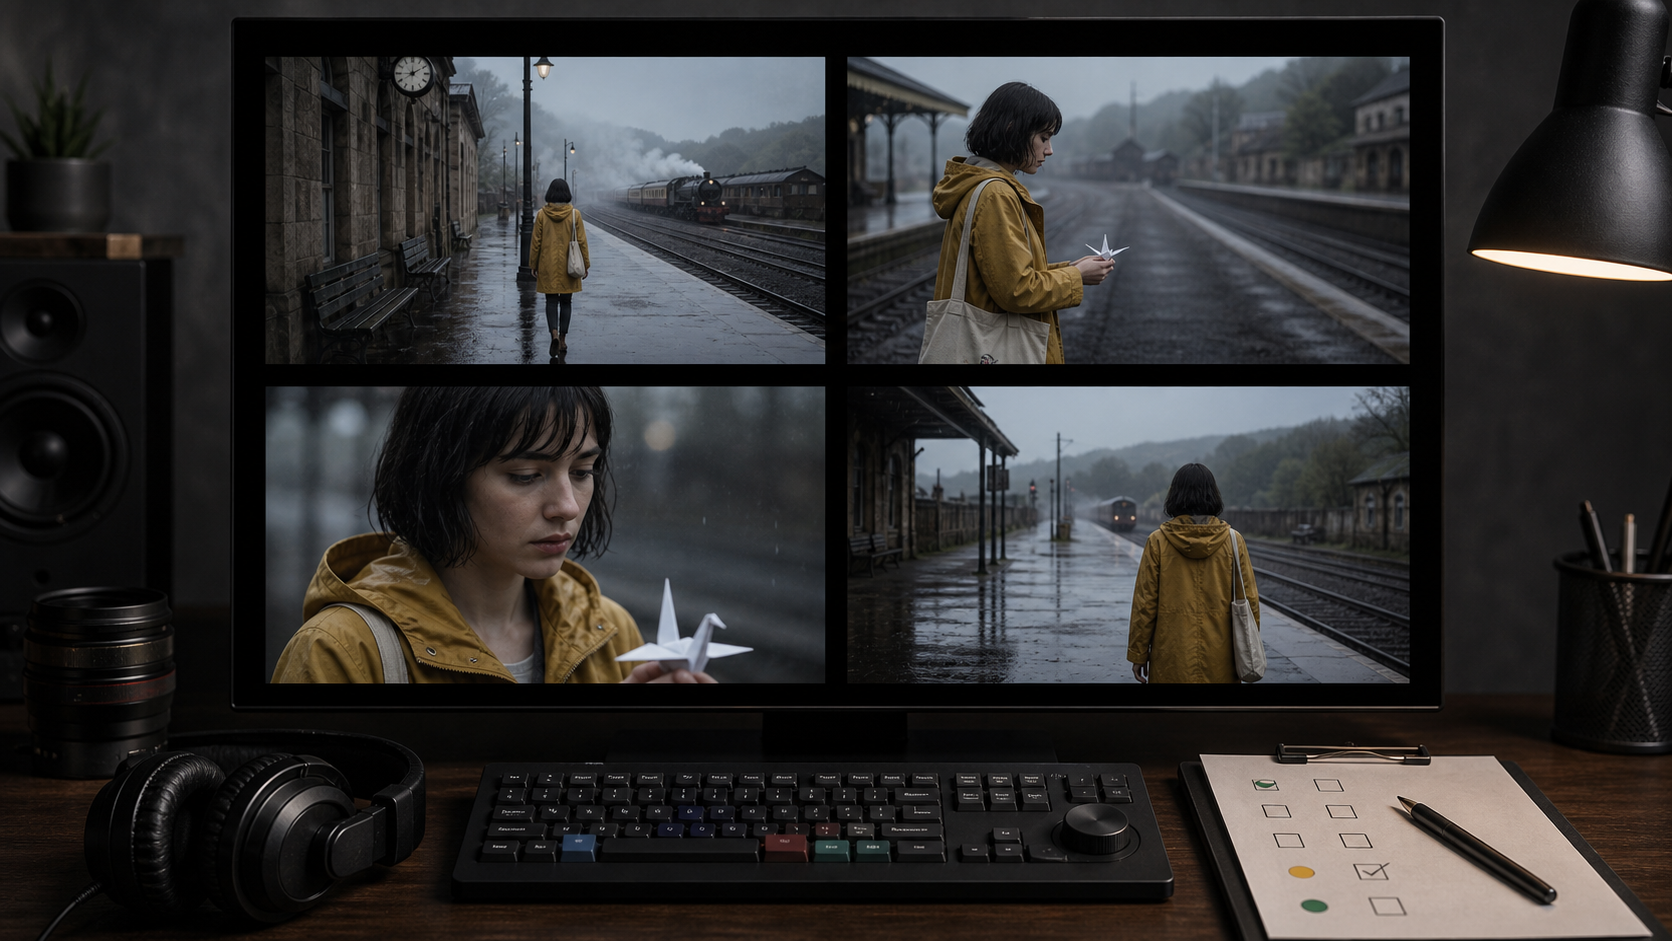
Prompt: A light professional editing workstation, monitor showing four coherent frames from the same fictional railway story, an organized shot review checklist beside the screen, neutral studio light, realistic editorial photography, no readable text, no logos.
Shot acceptance checklist
- Match the take to its shot number and preserve version history
- Check the opening frame against the approved panel
- Check the closing frame against the next shot
- Confirm the intended action finishes inside the usable duration
- Trim first, then add dialogue, effects, ambience, and music
- Watch the complete film for pacing and continuity before export
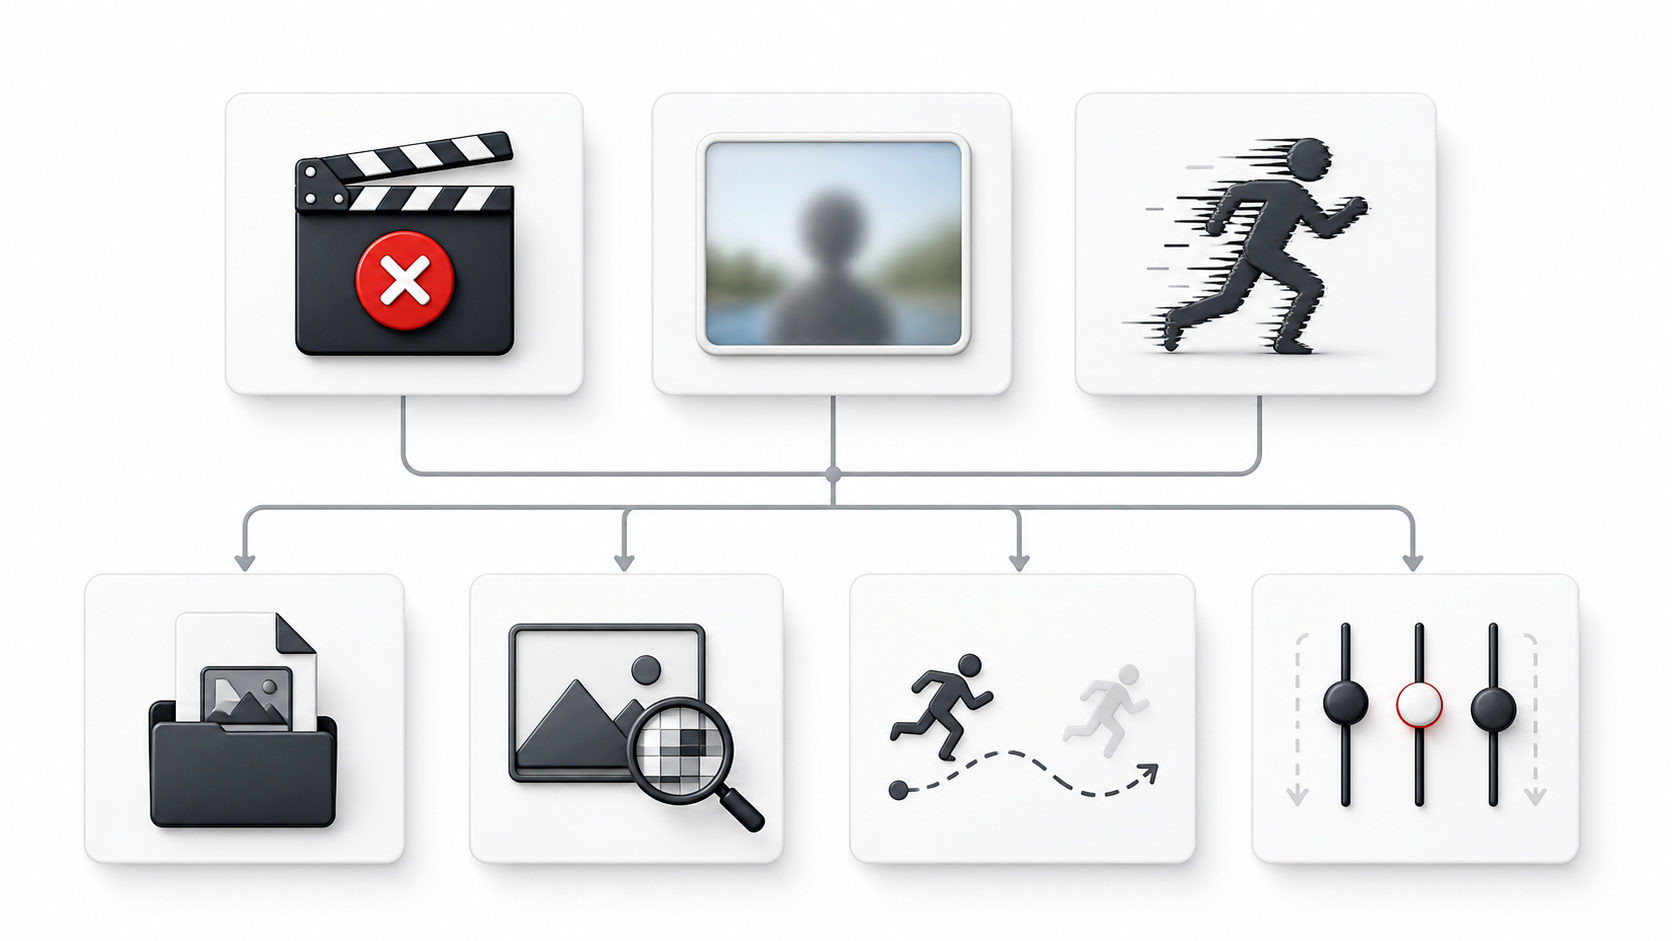
Common failures and practical repairs
| Problem | Repair |
|---|---|
| The character changes between shots | Return to the approved panel or rebuild the conflicting panel from the same character reference |
| The camera invents an orbit | Use one plain camera instruction and remove competing spatial language |
| A prop swaps hands | State the hand and orientation in both the panel and continuity lock |
| The cut feels like a jump | Choose closing and opening frames with matched eyelines, scale, or motion |
| A shot keeps drifting | Shorten the duration and split the action into two shots |
| The result looks busy | Remove secondary motion that does not serve the shot goal |
Best fit
This workflow fits narrative ads, music-video fragments, proof-of-concept scenes, animated comics, pitch films, and short sequences where a human has already approved the composition of every shot.
Not the best fit
It is a poor fit when the board is still changing, when one prompt must invent the entire sequence, or when exact long-form identity continuity is required without time for shot-level review and editing.
FAQ
Does Kling 3.0 turn a whole storyboard sheet into a finished film?
Use one clean panel per shot. A contact sheet contains gutters, labels, and competing compositions that make motion control harder.
Should every shot use the same prompt?
No. Reuse the continuity facts, but write the action and camera instruction for the specific shot.
How long should each generated shot be?
Use the shortest duration that completes the planned action. The current route supports 4 to 15 seconds.
Can editing fix a continuity error?
Small timing problems can be trimmed. A changed face, costume, prop, or screen direction usually needs a new panel or generation.
Is the external tutorial proof of Kling output?
No. It demonstrates storyboard planning and panel-by-panel animation discipline with other tools. Kling-specific capability is checked separately against the current product route and first-party demo.
Animate the first panel
Ready to animate the first approved panel? Open the KlingVideo image-to-video workspace, run one short motion test, and judge the result against your shot brief before generating the rest of the board.
Open KlingVideo image-to-video
Sources and methodology
- Kling AI Video 3.0 Model User Guide, official capability reference checked August 23, 2026.
- KlingVideo current image-to-video configuration and first-party demo, checked August 23, 2026.
- How to Make Storyboard with AI, external workflow tutorial checked August 23, 2026.
Workflow note
The workflow separates verifiable product controls from production advice. No paid video generation was run for this article. The storyboard artwork and production diagrams are original editorial visuals, while the embedded image-to-video pair is existing first-party evidence.