Quick answer
Kling 3.0 can generate the individual shots for a music video, but it does not replace the edit. The reliable workflow is to split the song into visual beats, lock a style and character reference, generate short performance and narrative clips, then cut those clips to the track in an editor.
Use KlingVideo Text to Video when the scene starts as an idea. Use Image to Video when a performer, outfit, product, or location needs a fixed visual starting point. For a reusable performance reference, Reference to Video can carry motion and appearance cues into a new shot.
Kling 3.0 currently supports short clips rather than a finished song-length timeline. The text workflow offers 4 to 15 second durations, 720p or 1080p output, common aspect ratios, and an optional sound setting. Treat every generation as edit-ready footage. Exact beat sync, music generation, music rights, and the final cut still belong outside the generator.
Map the song into visual beats
Start with the audio file in your editor. Add markers at section changes, strong accents, lyric turns, and moments where the energy drops. Do not create a new shot for every drum hit. A useful beat map groups the song into blocks that can hold a visual idea for several seconds.
For a three-minute song, a practical first pass might contain 18 to 30 shots. Give the chorus a repeatable visual rule, such as the same stage setup with a different camera distance. Let verses carry the narrative. Save abstract inserts, texture shots, and fast transitions for moments where a clean performance cut feels flat.
Write each planned shot in one line:
| Time | Purpose | Shot note |
|---|---|---|
| 0:00 to 0:08 | Establish mood | Empty stage, slow push toward a single warm spotlight |
| 0:08 to 0:16 | Introduce performer | Medium profile, singer steps into light, restrained movement |
| 0:16 to 0:24 | Open the story | Night bus window, city reflections moving across the face |
| Chorus | Repeatable hook | Front performance shot, wider lens, stronger backlight |
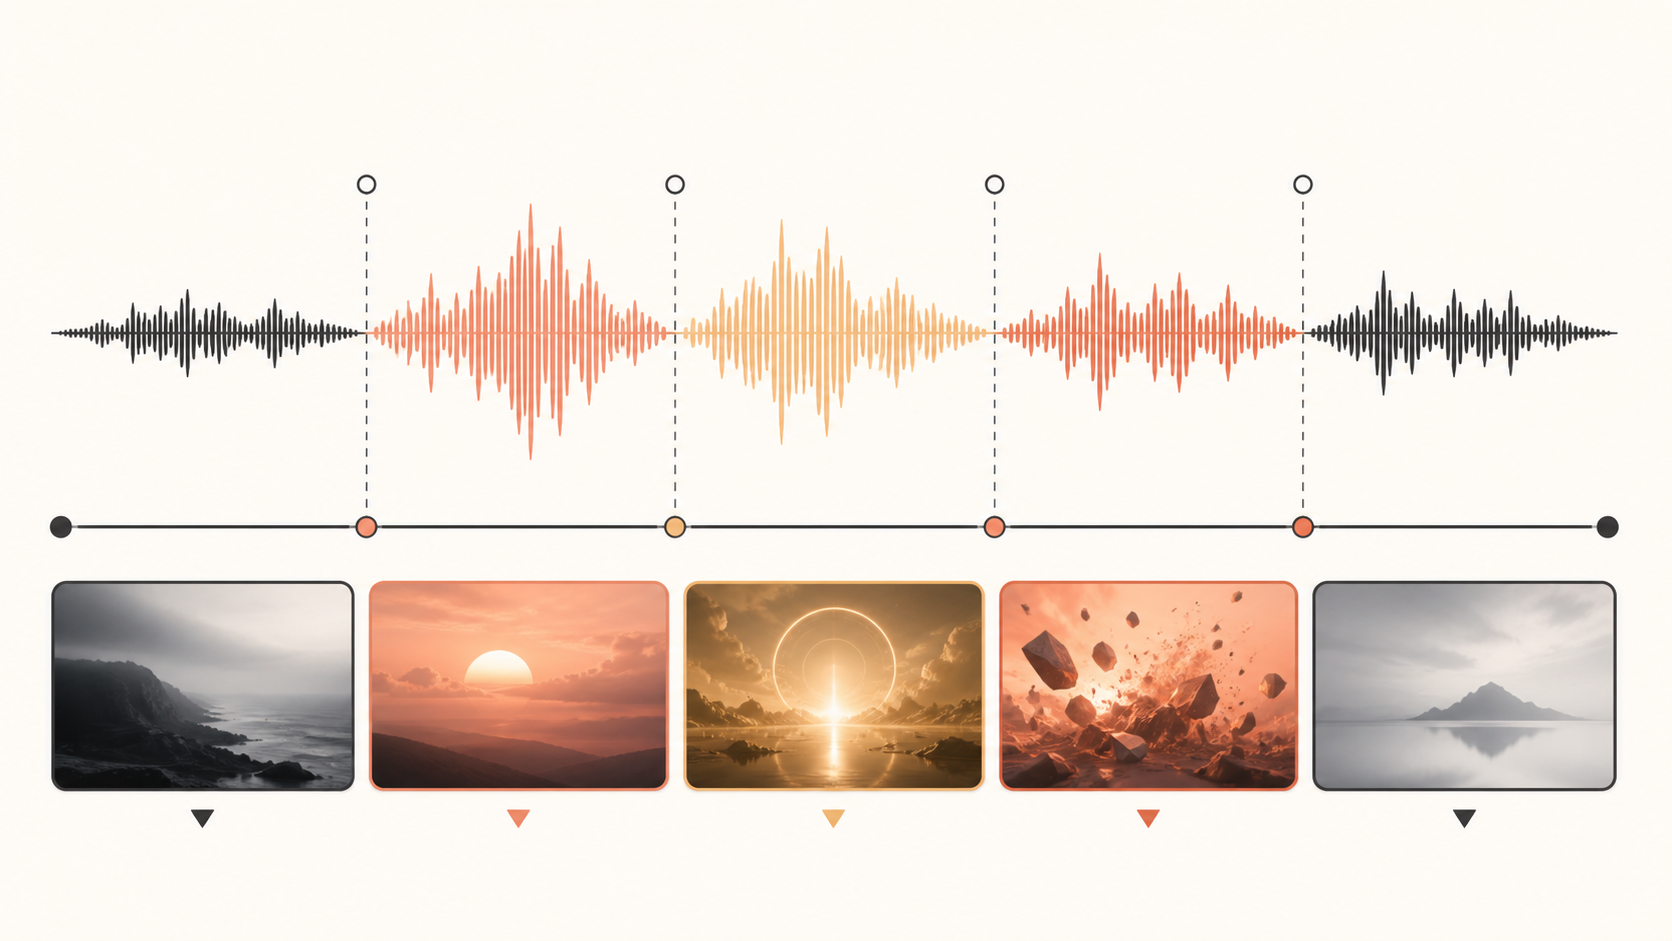
Visual prompt: "A clean editorial song-to-shot beat map, horizontal waveform divided into five sections, each section connected to one cinematic frame, warm-white background, charcoal lines, muted coral and amber accents, 16:9, no logo or readable text."
Build a visual bible before generating
Continuity problems usually begin before the first prompt. A music-video visual bible gives every shot the same small set of rules. Keep it short enough to paste into a prompt or compare at a glance.
Record the performer reference, wardrobe, hair, makeup, key colors, location materials, light direction, lens feel, and camera behavior. Be concrete. "Moody cinematic lighting" can mean almost anything. "One warm spotlight from camera right, deep neutral shadows, wet concrete floor" is easier to repeat.
If the performer must remain recognizable, begin with a rights-cleared reference image or video. Use the same source throughout the sequence. Avoid changing the outfit, time of day, lens style, and color palette in the same prompt. When a shot fails, you want to know which variable caused it.
The Kling 3.0 model guide explains the available text, image, and reference routes. The official Kling VIDEO 3.0 guide also documents text-to-video, image-to-video, start and end frames, native audio, multi-shot control, and reference consistency.
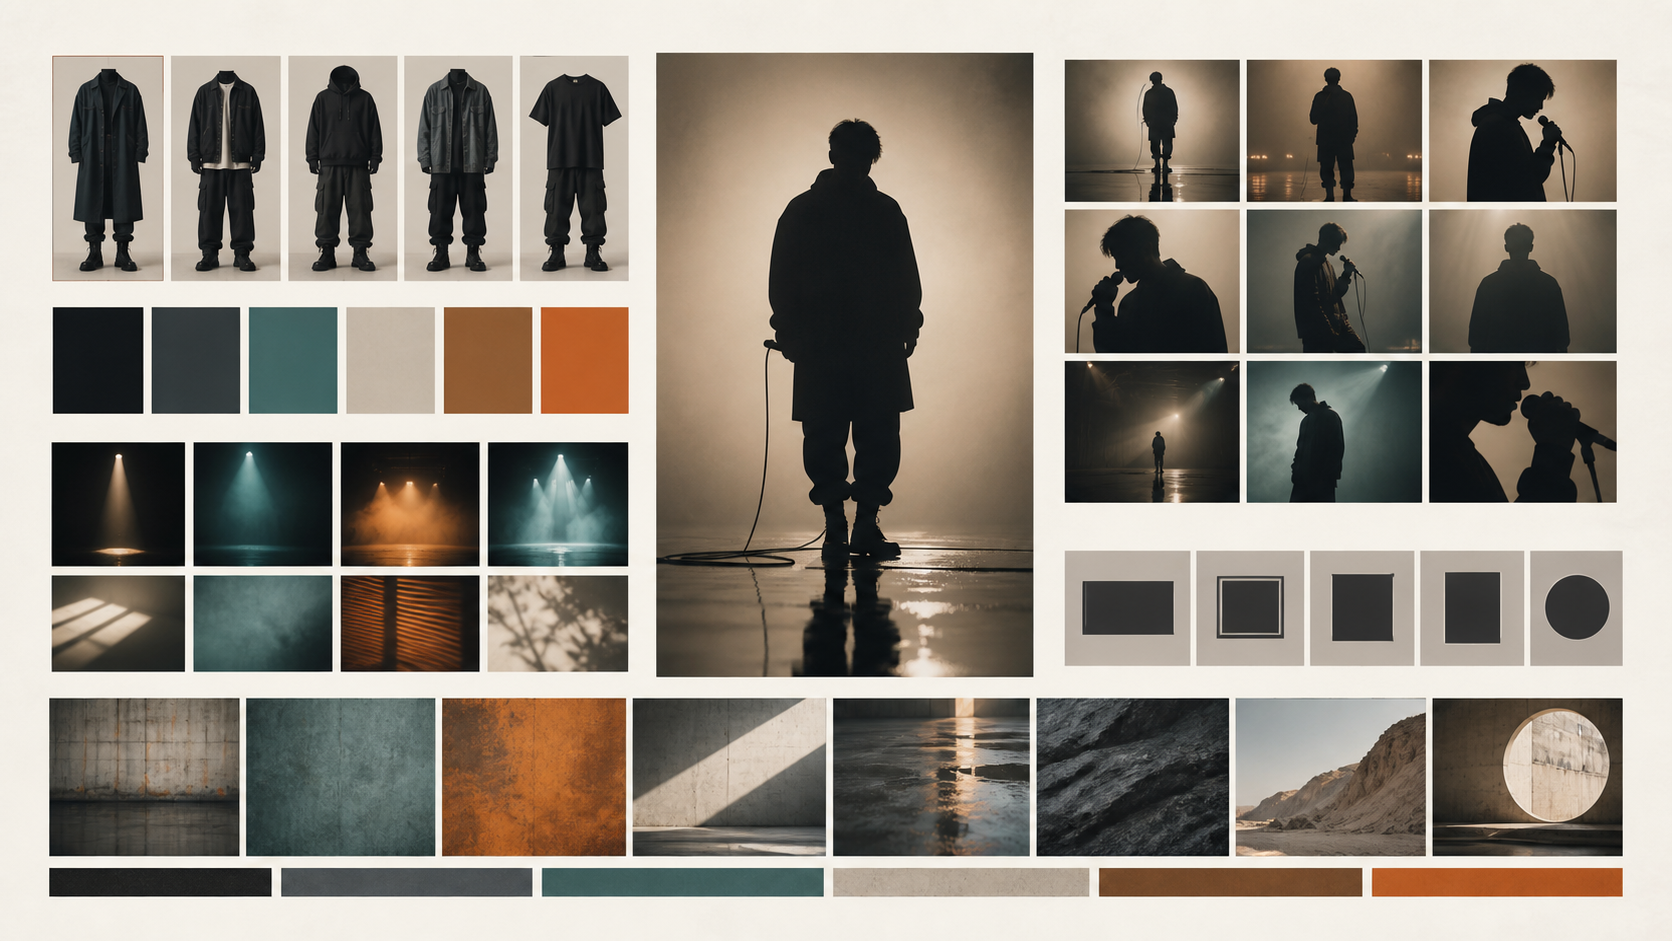
Visual prompt: "A professional music-video visual bible arranged as a clean editorial board, one anonymous performer silhouette, black wardrobe references, muted teal and burnt orange color swatches, stage-light samples, camera framing thumbnails, concrete and reflective floor textures, 16:9, no logo or readable text."
Generate performance, narrative, and transition shots
Build the video in batches. Generate the performance setup first because it carries the chorus and gives the edit a dependable visual anchor. Next, make the narrative scenes for the verses. Finish with transitions and inserts that can hide a difficult cut.
A useful prompt names the subject, action, setting, camera, light, and continuity constraints. Keep the action narrow enough to fit the selected duration.
Same anonymous singer from the reference, black oversized jacket and silver chain, standing on a wet concrete stage. The singer raises the microphone and turns slowly toward camera. Medium close-up, subtle handheld movement, one warm spotlight from camera right, deep neutral shadows. Keep face, hair, wardrobe, and light direction consistent. No text or logo.
For an image-led shot, choose a clean starting frame and describe motion rather than repeating every visible detail. For a reference-led shot, keep the source short and clear. A busy reference with several people, cuts, and camera moves gives the model too many competing cues.
Generate handles for editing. If the useful action lasts four seconds, request a longer clip when practical so the editor has clean frames before and after it. Create two or three controlled variants of important chorus shots. Do not spend the whole budget chasing a single perfect generation.
Edit to the song and run continuity QA
Bring the selected clips back into the editor with the original track. Cut on musical phrases and movement, not only on the grid. A hand reaching the microphone can cross a beat and land on the next shot more naturally than a hard cut placed exactly on the kick.
Mute generated sound when the final music track should dominate. Native sound can still help with texture or a performance idea, but it does not prove beat-accurate synchronization. Check the license for the song, vocals, reference media, and any likeness before publishing.
Watch the rough cut twice. The first pass is for rhythm. The second is for continuity. Compare face shape, wardrobe, screen direction, light direction, color, scale, and background details across neighboring clips. Replace a visible mismatch or cover it with an insert. Color correction can unify exposure and palette, but it cannot repair a different face or costume.
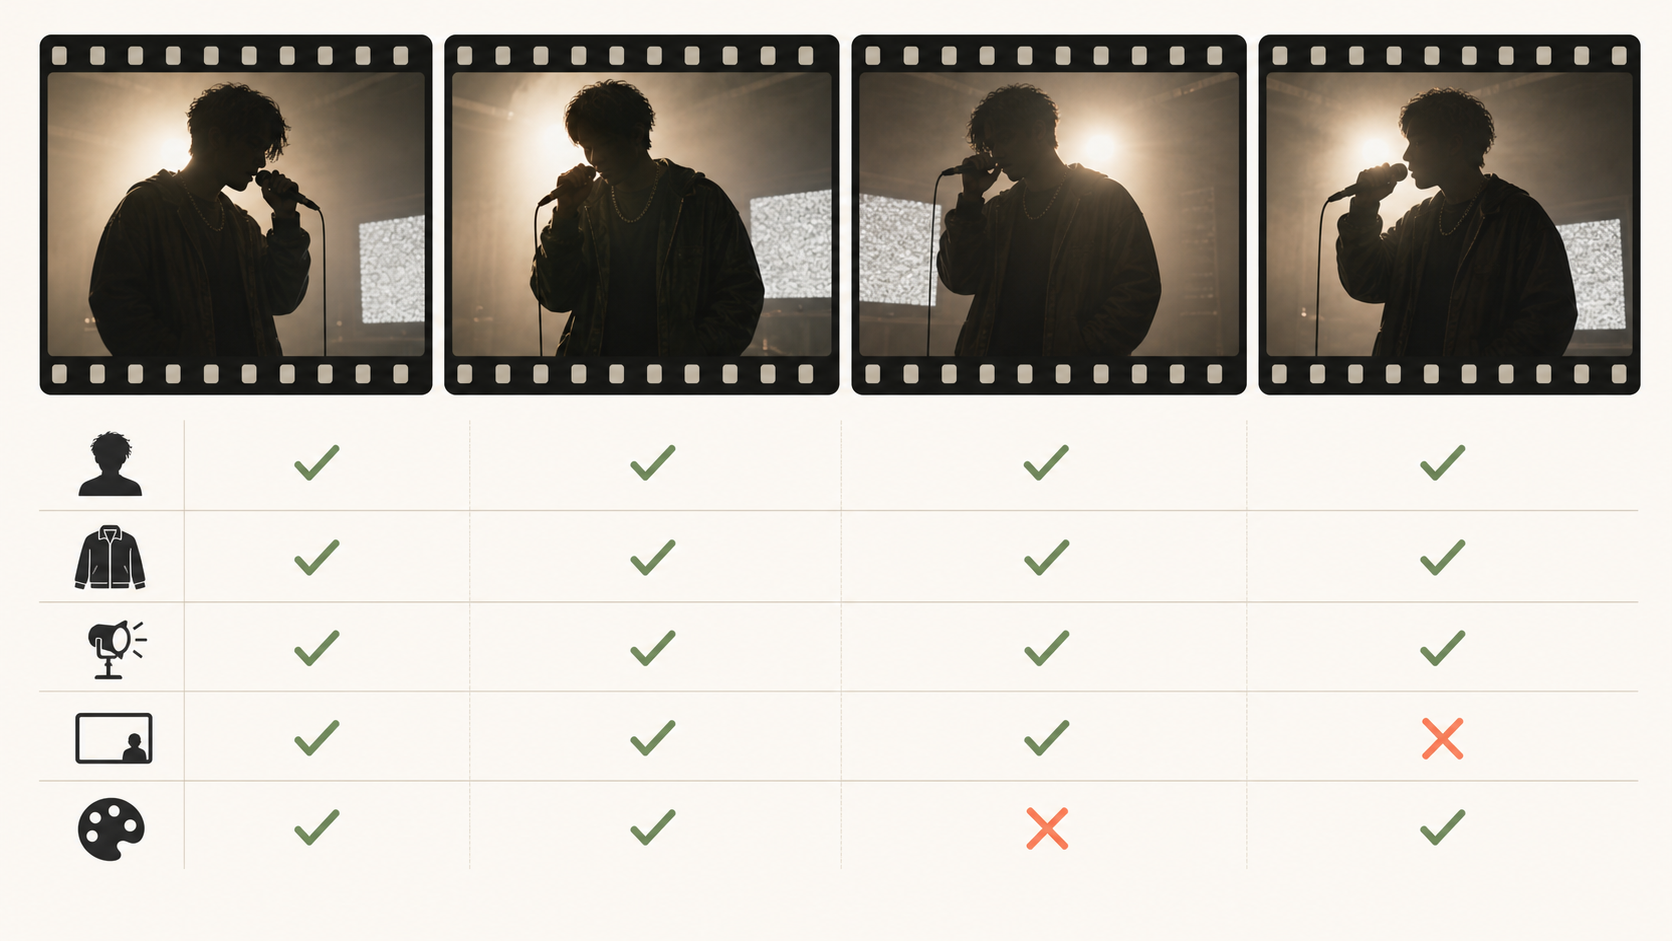
Visual prompt: "A clean editorial continuity checklist, four film-frame thumbnails of the same anonymous singer in the same black jacket and warm backlight, comparison rows for silhouette, wardrobe, light direction, framing, and color palette, muted green checks with two restrained coral mismatch marks, 16:9, no logo or readable text."
A compact production checklist
- Mark song sections and visual beats before generating.
- Keep one approved visual bible beside every prompt.
- Use text-to-video for open concepts and image or reference workflows for tighter identity control.
- Generate performance anchors before narrative and transition shots.
- Save longer handles around important actions.
- Edit with the final track, then review rhythm and continuity separately.
- Confirm rights for the song, vocals, references, and likenesses.
FAQ
Can Kling 3.0 make a complete music video from one song?
It can create the shots, including performance, narrative, and transition material. You still need an editor to arrange them across the full song, sync cuts, mix audio, add titles, and export the final video.
Does Kling 3.0 sync every cut to the beat automatically?
Do not assume exact beat sync. Plan visual beats in an editor, generate clips for those slots, and make the final timing decisions on the timeline.
Which workflow keeps a performer most consistent?
Start from a rights-cleared image or video reference, reuse it across the sequence, and keep wardrobe, lighting, framing, and camera instructions stable. Review neighboring shots before you generate the next batch.
Where can I see existing Kling music-video examples?
The official Kling music-video gallery contains public examples with different runtimes and visual approaches. Kling also publishes an official music-video workflow guide. Use them as workflow references, not as proof that a specific prompt will reproduce the same result.
Start with one scene
Open KlingVideo Text to Video, choose one eight-second section of your song, and build a performance shot that follows the visual bible. Once that anchor works, plan the rest of the sequence around it.